You’ll gather specialized tools—sod cutter, tiller, compactor, roller—plus materials like turf adhesive, infill, and weed barrier fabric. Select a flat, level site; measure dimensions with stakes and strings. Remove grass down to four inches, then excavate three to five inches of native soil. Compact the ground, add crushed gravel to two to three inches, spread a quarter-inch sand layer, and tamp firmly. Install optional weed barrier, unroll turf, anchor with nails and staples every three to six inches, apply infill evenly, and allow twenty-four hours for settlement. Each phase builds the stability your green needs for proper performance.
Gather Tools and Materials Before You Start
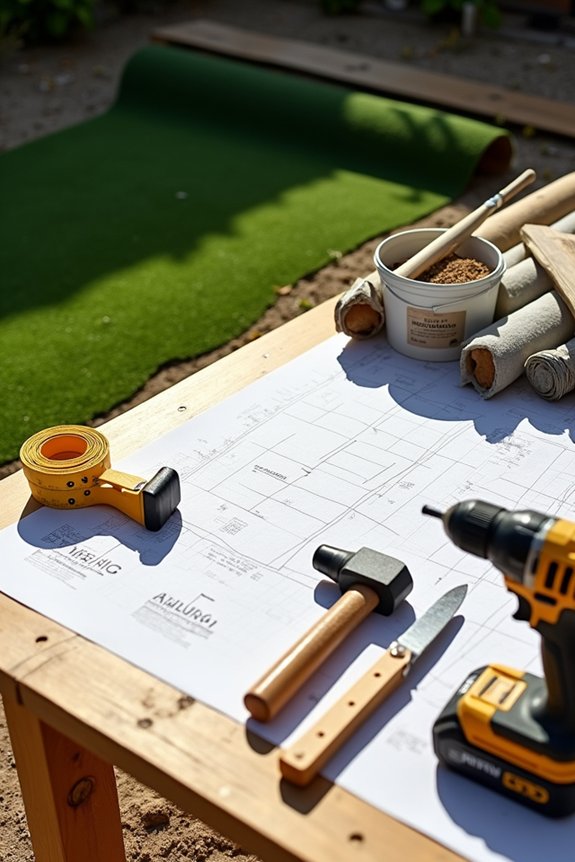
Before you break ground on your backyard putting green, you’ll need to assemble a comprehensive toolkit that covers installation, setup, and finishing work. Gather essential tools for prep work: a sod cutter, tiller, shovel, rake, compactor, and roller. You’ll also want a wheelbarrow and tape measure for accurate measurements. Your DIY backyard materials should include stakes, strings, flags, and a sharp utility knife for precise cutting. For the putting green installation itself, stock turf adhesive, joining adhesive, joining tape, nails, and staples. Don’t forget infill and weed barrier fabric. Finally, prepare convenience items like a water hose and broom. A laser level and carpet knee kicker offer optional advantages. Having these tools and materials ready before starting allows your installation to proceed without interruption.
Select a Flat, Level Site for Your Putting Green
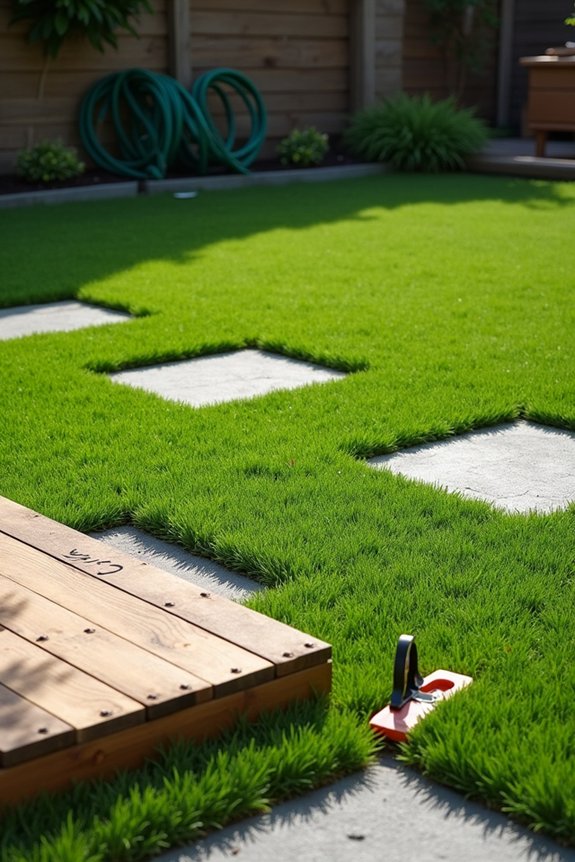
With your tools and materials organized, you’re ready to identify and prepare your putting green’s location. I recommend selecting a flat, level site that provides adequate space for your turf plus clearance around the edges. Assess the area for small slopes; you can level them using a tiller or sod cutter if necessary. Next, mark your putting green’s sizing using a tape measure, stakes, strings, and flags to define the exact area. This layout establishes your boundaries without locking in the final shape, which you’ll adjust during installation. Consider your site’s orientation carefully. Evaluate sun exposure and drainage patterns to maintain proper play conditions and visual appeal. Proper drainage prevents water pooling, maintaining green integrity throughout seasons.
Measure and Mark Your Putting Green Dimensions
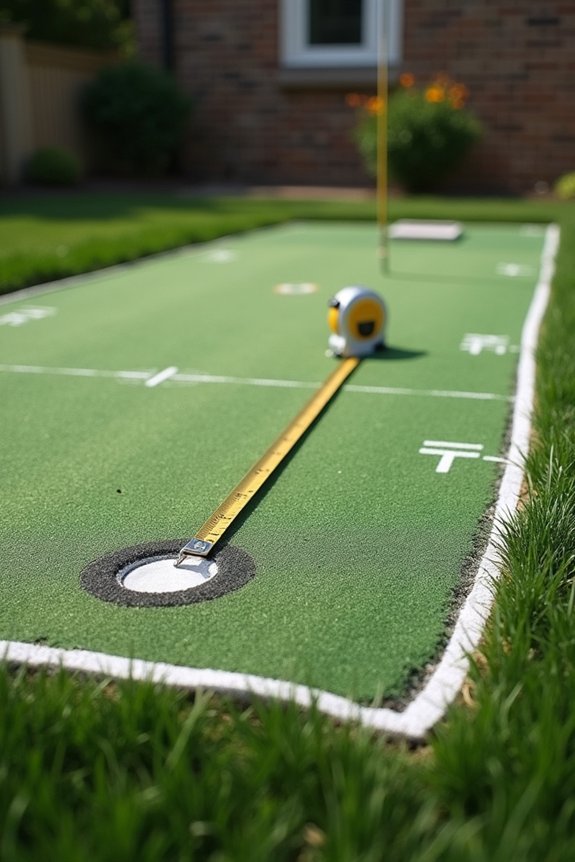
How you lay out your putting green’s dimensions determines everything that follows—installation accuracy, playability, and visual balance. I’ll use tape measures, stakes, strings, and flags to mark my precise putting green dimensions on the flat level surface I’ve selected.
I’m measuring the full area needed, including extra clearance around the turf for installation work. My measuring and marking establishes the perimeter accurately, allowing me to adjust the shape later if desired without changing the actual turf size.
During layout planning, I’m considering sun exposure and drainage considerations for optimal performance. I’m positioning the green to maximize playability and aesthetics from my viewing angles. I’m designating approximate zones within the marked area for slopes or features before installation begins. This preparation allows my putting green to function correctly and look deliberate.
Remove Grass and Debris From Your Putting Green Area
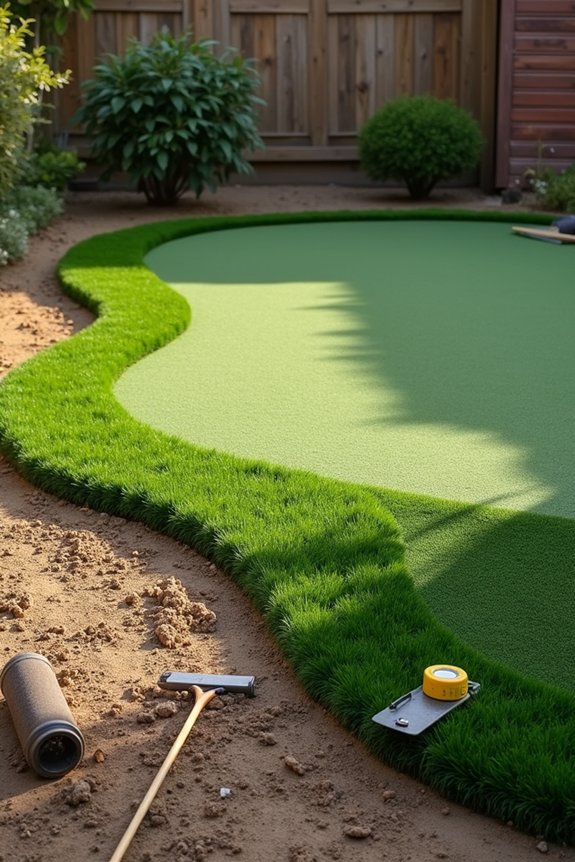
I need to remove existing grass, plants, and debris down to approximately 4 inches deep to properly prepare my installation area. Next, I’ll excavate 3–5 inches of native soil, optionally adding a weed barrier on top to prevent future growth. Using a terrain rake and push broom, I’ll level and contour the ground while maintaining slopes at or below 3 percent before preparing the crushed rock base.
Clearing Existing Vegetation
Before you break ground on your putting green, you’ll need to strip away everything occupying that space. I remove existing grass, plants, and debris down to approximately four inches deep. This clearing vegetation step establishes your foundation for success.
Next, I mark the putting green boundaries using a tape measure, stakes and strings, and flags. These markers define my work area precisely. I then excavate soil to create adequate room for infill and sand layers beneath.
After excavation, I use a rake to level the surface methodically. I check for bumps and dips with a level tool to identify problem areas. I operate a roller across the ground with multiple passes, compacting thoroughly. This process creates the flat footprint necessary for proper drainage and playability, so your putting surface performs consistently.
Debris Removal and Leveling
Why does ground preparation determine your putting green’s long-term performance? Proper debris removal and leveling establish the foundation for drainage and stability.
I start by clearing the area down to approximately four inches, removing grass, plants, and debris to expose the workable sub-base. Next, I excavate soil as needed to create appropriate space for infill and sand layers. Using a rake, I level the ground thoroughly and check for irregularities with a level tool.
Key steps I follow:
- Address high spots and voids before compaction begins
- Compact the prepared surface with a roller in multiple passes
- Achieve a solid, even foundation for proper water flow
After leveling and compaction, I insert golf cups at correct placement and depth. This systematic approach keeps your putting green functioning optimally for years.
Level and Compact the Ground With a Roller
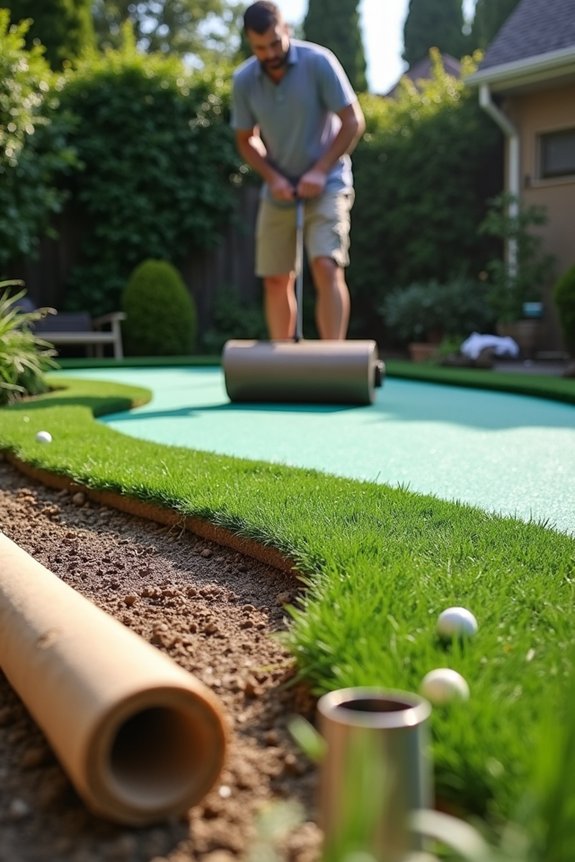
After excavating 3–5 inches of native soil, I’ll use a roller to compact the ground and eliminate surface irregularities. I need to rake the base first, identifying bumps and dips, then roll systematically across the entire area to achieve uniform density and proper drainage slope. Once compacted, I’ll recheck levelness with a level tool to confirm the foundation reaches intended depth and provides a stable, flat surface for sub-base installation.
Ground Compaction Techniques
Rolling the ground creates the stable, level foundation your putting green requires. I’ll share the compaction techniques that’ll produce tournament-quality turf.
- Multi-Pass Rolling Strategy: Make initial passes with your roller in one direction, then perpendicular passes to compress soil uniformly and eliminate high spots and depressions.
- Moisture Management for Optimal Density: Verify your soil reaches appropriate moisture levels before compaction—dry soil resists compression while oversaturated soil becomes unstable and difficult to work.
- Verification and Drainage Assessment: Use a straightedge across the leveled surface to identify remaining bumps, then recheck slope during compaction to confirm water flows away from your putting green properly.
After rolling, the base material sits flush with surrounding edges. This solid foundation prevents settling issues and maintains your green’s longevity and playing consistency.
Checking For Level Surface
How you verify levelness directly determines your green’s playability and drainage performance. I use a level tool to check the base systematically, scanning across multiple sections to identify bumps and dips. After compacting the ground with a roller in several passes, I rake the surface to remove high spots and fill low areas with excavated soil.
A smooth surface requires patience and precision. I make horizontal passes with the roller, then diagonal passes to achieve uniform compaction. Between passes, I check again with the level. This repeated process creates the stable, compact base your putting green needs for consistent ball roll and proper water drainage.
Spread and Compact Crushed Gravel to 2–3 Inches
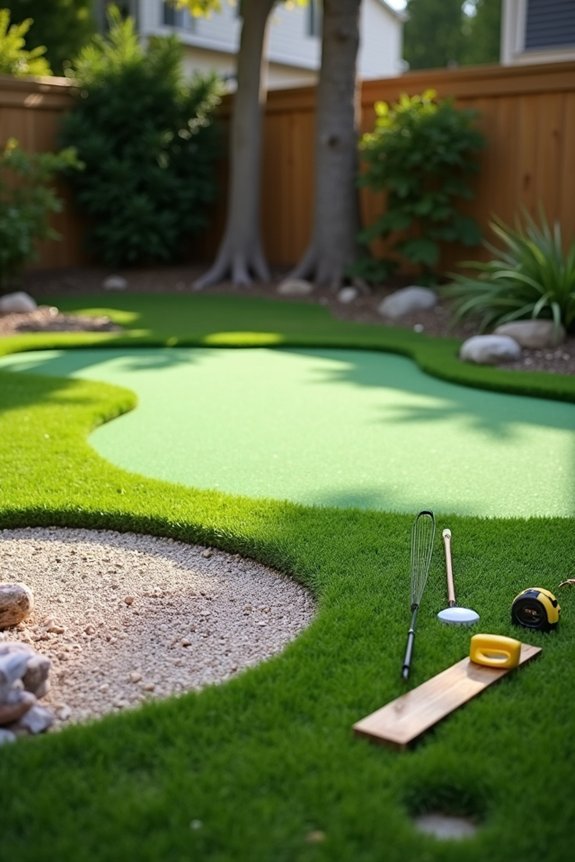
The crushed gravel base serves as the foundation for your putting green’s drainage and structural integrity. I spread the crushed gravel evenly across the prepared area to a depth of 2–3 inches. This thickness supports proper sub-base performance while backing the turf system above.
Next, I use a landscape rake to level the material, creating a smooth, uniform surface. Leveling prevents water pooling and weak spots that compromise stability. Then I compact the base thoroughly using a plate compactor in multiple passes.
- Achieve 90–95% density through consistent compaction passes
- Check surface consistency by sight and with a level tool
- Remove all vegetation and debris before compaction begins
This base preparation creates the solid foundation your putting green requires.
Add a Sand Layer and Tamp for a Firm Base
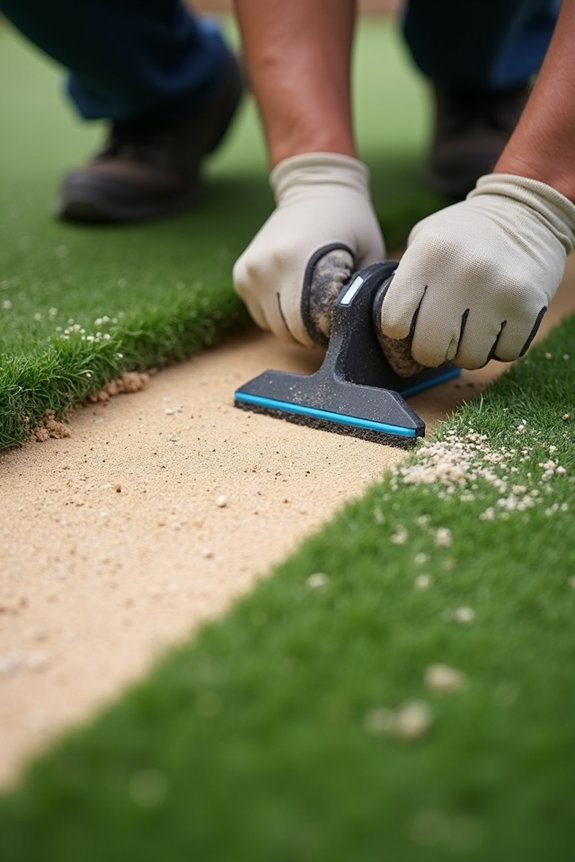
With your crushed gravel base compacted to proper density, you’re ready to add the sand layer that’ll create your putting green’s final playing surface. Spread a 1/4 inch layer of decomposed granite over the compacted gravel, creating a smooth, even foundation. This material fills minor voids and prevents shifting.
Next, apply your sand layer across the entire area. Use a tamper or plate compactor to compress it firmly, eliminating soft spots. Work systematically until the surface feels solid underfoot. Maintain consistent thickness throughout—uneven spots will compromise turf stability.
Check that your sand layer remains flush with surrounding edges and the sub-base. Verify levelness across the installation. For basic installations, maintain approximately 1 inch clearance to concrete edges. Flush edges prevent seams from telegraphing through your turf later.
Lay Down Weed Barrier to Stop Growth
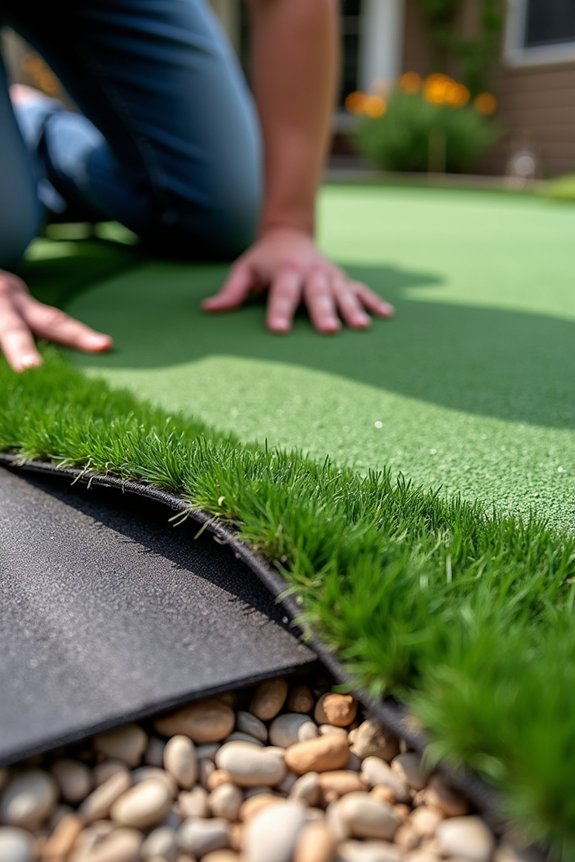
Before you spread your crushed rock base, laying down a weed barrier across your entire excavated area is recommended. This optional but valuable step suppresses weed growth under your putting green and fringe long-term.
A weed barrier laid before your crushed rock base suppresses long-term weed growth and enhances putting green durability.
Start by removing any remaining organic material from the excavated surface. Then unroll your weed barrier and position it flat across the area, eliminating folds and wrinkles that compromise effectiveness. Secure it with staples or pins spaced appropriately to prevent shifting during compaction.
Key installation steps:
- Remove organic debris before installing the barrier
- Lay material flat without folds for complete contact
- Secure with staples or pins to prevent movement
Installing weed barrier prior to base installation improves overall stability. The barrier creates a protective layer preventing weed penetration, supporting your putting green’s durability and playability throughout seasons.
Unroll and Anchor the Putting Green Turf
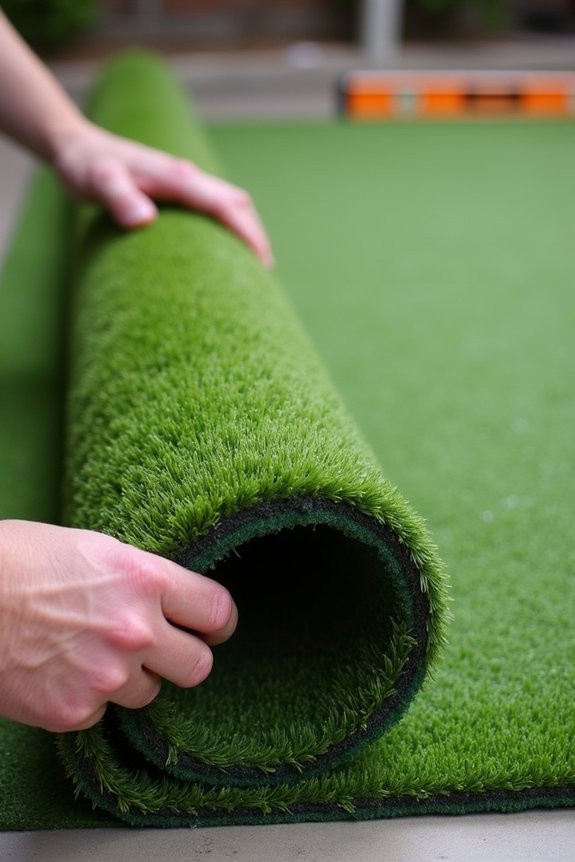
How you position and secure your turf determines both aesthetics and longevity. I unroll the putting green turf with the pile facing toward the house, then let it rest overnight if kinks or wrinkles develop. Next, I attach seam tape to the sub-base perimeter using 5-inch non-galvanized anchor nails spaced every foot.
I then glue the putting green to the seam tape. I secure the perimeter with 3-inch non-galvanized nails every 3–6 inches, adding interior 1-inch staples every 3 square feet for stability. For fringe installation, I secure fringe along the perimeter with 5-inch nails every 3–6 inches, maintaining approximately 1 inch clearance from the concrete edge.
Finally, I join turf pieces using seam tape, adhesive, and staples. Running a seam roller across joints blends them.
Apply and Work Infill Into Fibers, Then Let It Settle 24 Hours
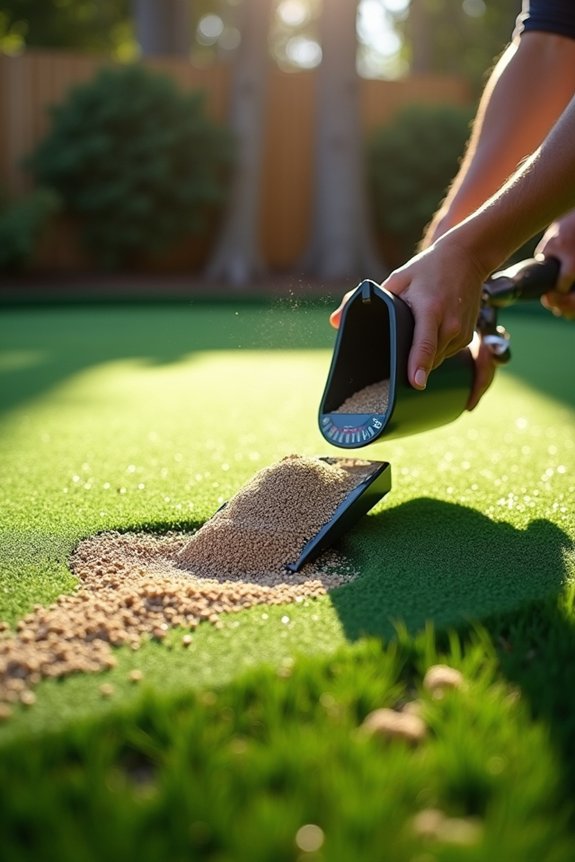
Once you’ve secured the turf, infill application becomes your next critical step. I’ll help you achieve the professional results you’re working toward.
Begin by evenly sprinkling infill across your surface using a drop or broadcast spreader for uniform distribution. This provides consistent coverage throughout your putting green.
Evenly sprinkle infill using a drop or broadcast spreader to ensure uniform distribution across your entire putting green surface.
- Use a power broom or stiff brush to work the infill into the fibers, so it fully penetrates the thatch layer
- Verify that infill embeds evenly, creating a natural springy feel and consistent ball response across the entire surface
- Hose down the area after spreading to help the turf settle and speed up the settling process
Allow your putting green to settle for at least 24 hours before brushing again. This resting period lets the infill stabilize properly, establishing the foundation for reliable play.