I’ll measure your window first—inside mount from trim to trim, outside mount 6+ inches beyond edges.
I’ll position the rod 4–12 inches above the frame, extending 4–10 inches on each side for visual proportion.
I’ll calculate panel fullness at 1.5–2 times window width, then choose your length: float, break, puddle, or sill.
I’ll install brackets into studs, thread the rod through, then hang panels.
Finally, I’ll hem to exact specifications, maintaining 1/8–1/4 inch floor clearance.
The installation details that prevent sagging and misalignment warrant attention to proper technique.
Why Proper Curtain Installation Transforms Your Space
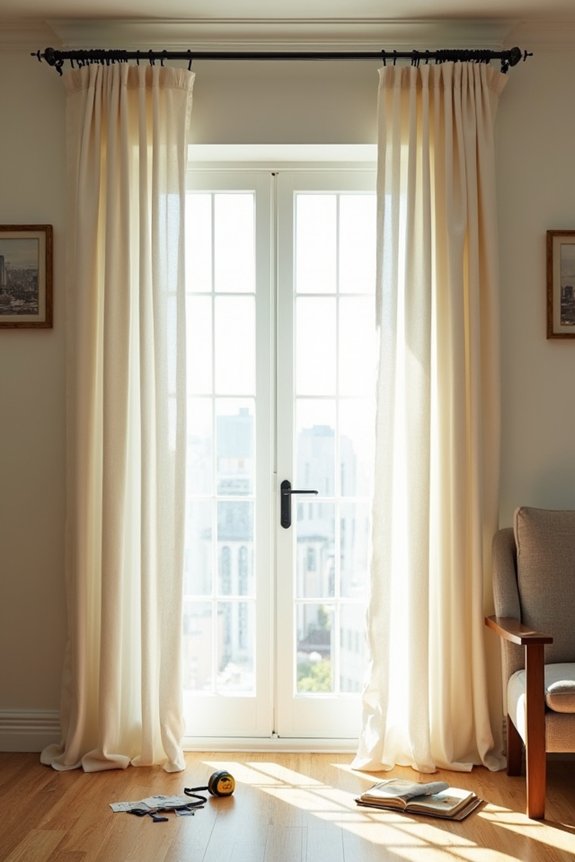
How much of your room’s visual impact depends on window treatment placement? Proper curtain installation fundamentally reshapes a space’s proportions and functionality. When you position your rod 4–12 inches above the window frame, you create a lifted appearance that makes ceilings appear significantly higher. Strategic window framing—extending rods 4–10 inches beyond each edge—expands the room visually while allowing maximum light penetration when panels pull back from glass.
Installing multiple panels with appropriate fullness (1.5 to 2 times window width) prevents sparse or bulky appearances, delivering a polished, tailored effect. This curtain installation approach balances aesthetic cohesion with practical benefits: improved light control, enhanced privacy, and the ability to train pleats professionally.
Proper measurements and placement turn ordinary windows into architectural focal points that define your room’s overall character and proportion.
Gather Your Tools and Decide on Inside or Outside Mount
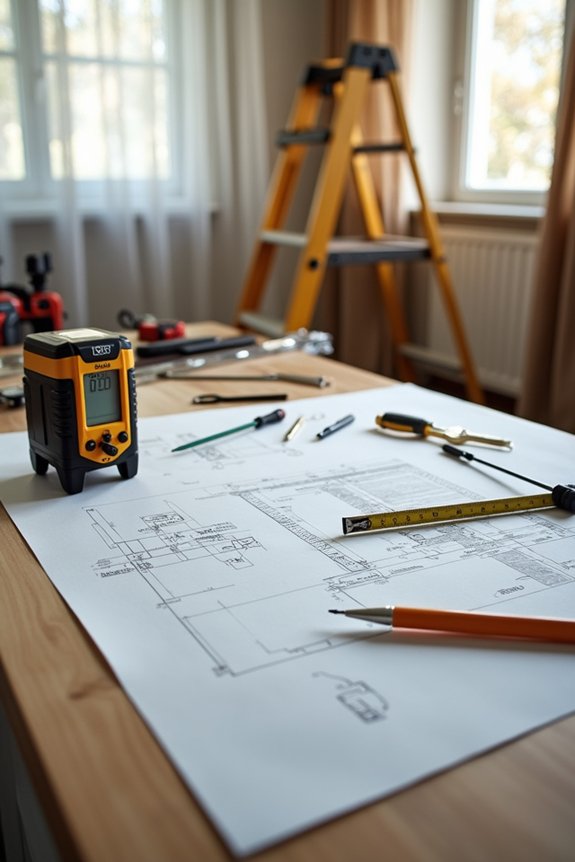
Before you measure your windows or position a single bracket, you’ll need specific tools and a clear mounting decision. Gather a metal measuring tape, tall step ladder, pencil, and level. These tools support accurate placement and straight installation.
Gather a metal measuring tape, step ladder, pencil, and level before measuring windows or positioning brackets for accurate, professional installation.
Next, decide between inside-mount and outside-mount configurations. Inside-mount brackets attach to the window frame interior, creating a streamlined appearance. Outside-mount brackets attach to walls or ceilings, offering flexibility for coverage.
Your mounting choice directly determines measurement strategies. For inside-mount, measure from inside trim to establish rod width. For outside-mount, measure from outside trim and add three to six inches per side. This addition accommodates brackets and provides full window coverage.
Use your level to confirm straight rod positioning before drilling. Mark bracket locations precisely on your surface, preventing installation errors and supporting professional results.
Measure Your Window: Inside Mount vs. Outside Mount
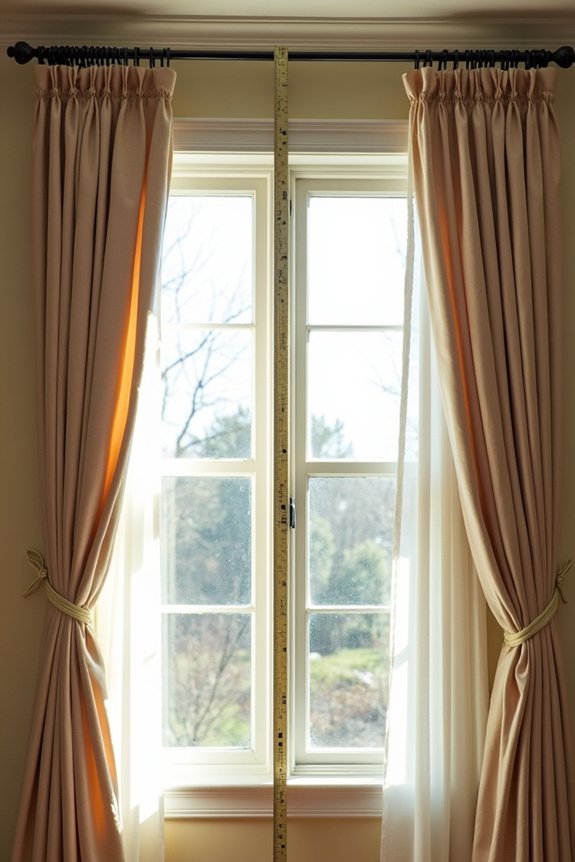
Now I’ll measure your window accurately by determining whether you need an inside or outside mount installation. Inside mounts use your window’s interior trim as the reference point, requiring the rod length to equal your exact window width. Outside mounts add 3–6 inches on each side of the window width, positioning brackets on the wall or ceiling to achieve full coverage and maximize visual width.
Inside Mount Measurements
When you’re working with an inside mount, you’ll measure directly from the window frame’s interior to determine both your rod length and panel dimensions. I measure from the left trim to the right trim for rod length, maintaining accuracy across the full width. Panel length requires measuring from the top of the frame downward to your desired endpoint.
Inside mount measurements demand attention to specific details:
- Add 0 to 1/2 inch clearance below the rod to prevent binding and allow smooth operation
- Account for window trim thickness, which affects bracket placement and overall coverage
- Match your rod length exactly to the window width, eliminating overhang and maintaining a clean appearance
This approach keeps your installation contained within the frame, preserving wall space while delivering an integrated aesthetic throughout your room.
Outside Mount Measurements
Outside mounts extend beyond the frame’s perimeter to cover wall space and create visual fullness, unlike inside mounts that sit within the window frame. I’ll measure from the outside edges of the window trim to establish my overall height, positioning the rod level above the frame.
For rod length, I add 3–6 inches per side to the window width, allowing brackets to position properly and panels to close completely. If molding is present, I extend this measurement to at least 6 inches per side, preventing the rod from obstructing decorative trim.
I measure from outside trim to outside trim, not the window itself. This approach provides proper coverage, adequate rod support, and a polished appearance when curtain panels are drawn closed.
Choosing Your Mounting Location
Where you position your curtain rod fundamentally changes how you’ll measure and what your final installation looks like. Your curtain mounting decision determines rod length, bracket placement, and light control effectiveness. Understanding both options allows you to choose with confidence.
Consider these factors when deciding your window measurements approach:
- Inside mount positions rods within the window frame, delivering a clean aesthetic and requiring measurements from inside trim left to right
- Outside mount extends rods beyond the frame on walls or ceilings, adding 3–6 inches per side for superior light blocking and fuller coverage
- Bracket compatibility demands different spacing—inside mounts need recessed installation while outside mounts require surface-mounted hardware
Your window’s architectural features guide this choice. Inside mounts work best for clean trim and adequate depth. Outside mounting suits broader coverage goals and challenging window proportions during your curtain mounting project.
Calculate Curtain Rod Length and Bracket Placement
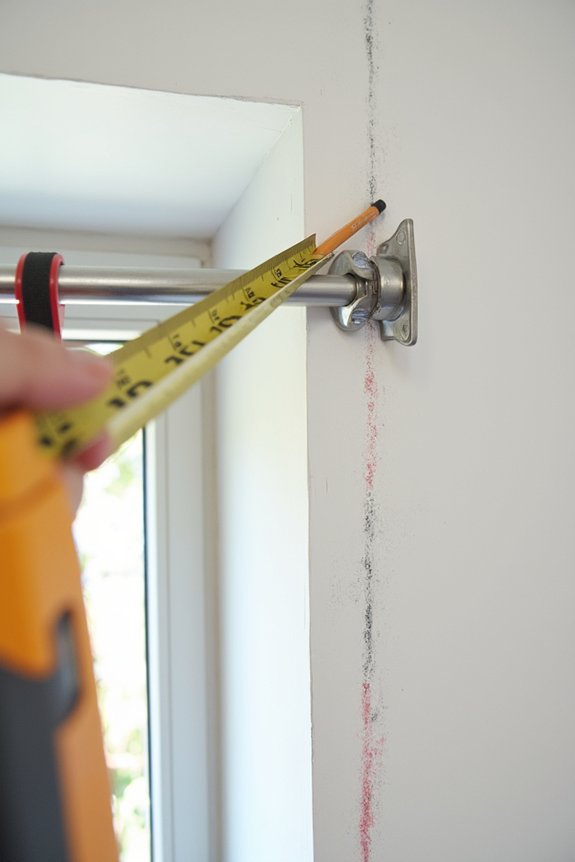
How do you determine the right rod length for your window? I calculate curtain rod length by extending 4 to 10 inches beyond each window edge. However, I never exceed 1/3 wider than the window width. For a 48-inch window, I’d install approximately a 64-inch rod total.
| Window Width | Rod Extension | Total Rod Length | Bracket Spacing |
|---|---|---|---|
| 36 inches | 4–6 inches | 44–48 inches | 6+ inches outside |
| 48 inches | 4–6 inches | 56–60 inches | 6+ inches outside |
| 60 inches | 5–8 inches | 70–76 inches | 6+ inches outside |
| 72 inches | 6–10 inches | 84–92 inches | 6+ inches outside |
I mark bracket placement 6+ inches outside the window frame, aligning with rod dimensions. Using a level confirms straight installation. I tighten brackets securely to prevent sagging.
Determine Panel Width and Fullness for Your Style
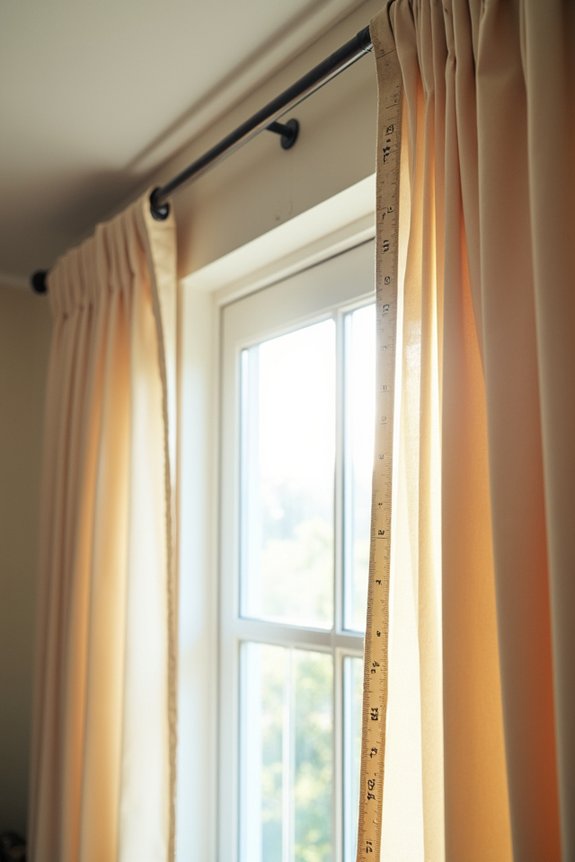
Once you’ve positioned your rod, determining panel width becomes your next critical decision. Panel width directly affects how your curtains look and function. You’ll calculate fullness based on your chosen style and desired coverage.
Consider these fullness guidelines for different curtain styles:
- Pencil-pleated and grommet panels require double the window width for balanced proportions
- Tab-top curtains need approximately 1.5 times the window width for a lighter appearance
- Sheer curtains demand three times the window width to achieve luxe fullness
For each panel, your fabric width should be at least twice the window width total. Round measurements up to the nearest half inch per panel. This prevents gaps and allows for proper draping. General fullness ranges from 1.5 to 3 times your window width, depending on style preference and desired aesthetic impact.
Choose Your Ideal Length: Five Options Explained
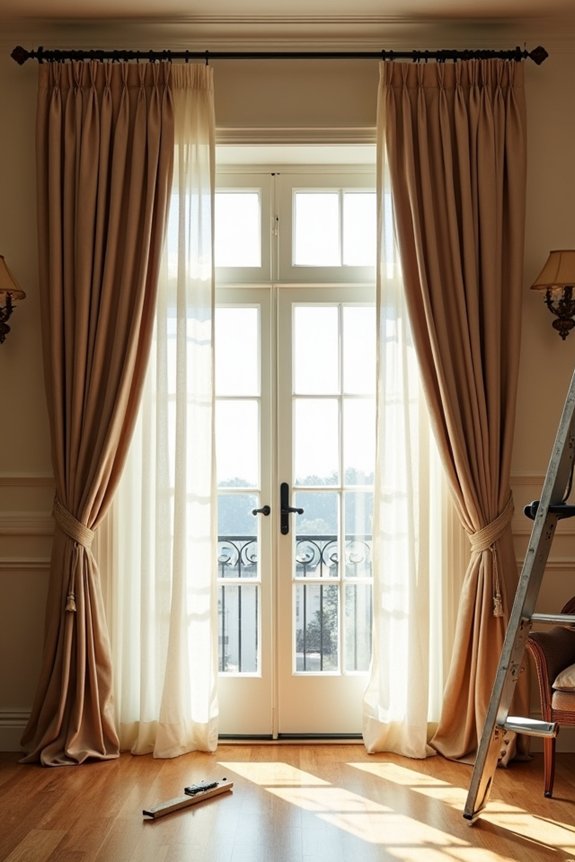
Curtain length determines both the visual impact and functional performance of your window treatment. This guide covers five distinct options to help you select the right fit for your space.
Float length keeps fabric hovering just above the floor, minus one-half to one-quarter inch from your rod-to-floor measurement. Break length adds one to two inches, allowing fabric to kiss the floor while concealing uneven surfaces. Puddle length creates dramatic pooling by extending several inches beyond floor level for a luxurious aesthetic.
Sill length ends at the windowsill, making it practical for kitchens and bathrooms where full-length treatments obstruct function. Floor-length curtains extend to approximately zero-point-four inches above the floor, emphasizing ceiling height and window proportions effectively.
Each option serves specific design goals and spatial requirements.
Install Your Rod and Hang the Panels
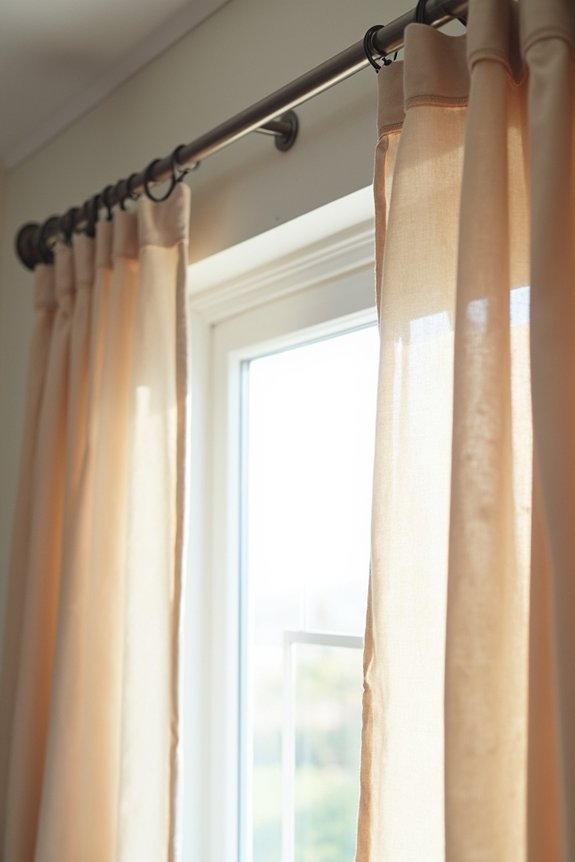
Now that you’ve settled on your ideal curtain length, getting the rod positioned and panels hung correctly determines whether your treatment hangs properly and functions as intended.
Start by positioning your curtain rod using these steps:
- Mount the rod 4–6 inches above the window frame, extending 4–10 inches beyond each edge for maximum coverage
- Install mounting brackets securely into wall studs or use appropriate anchors for drywall
- Loosen bracket screws slightly to thread the rod through, then tighten and align the top folds
Slide your panels onto the rod before final bracket installation. This panel installation method prevents damage and provides even distribution. For heater clearance, maintain 2–3 inches distance from baseboard units. Your curtain rod placement and mounting brackets work together to create proper draping and functionality throughout your space.
Fix Sagging Rods, Uneven Hems, and Crooked Placement
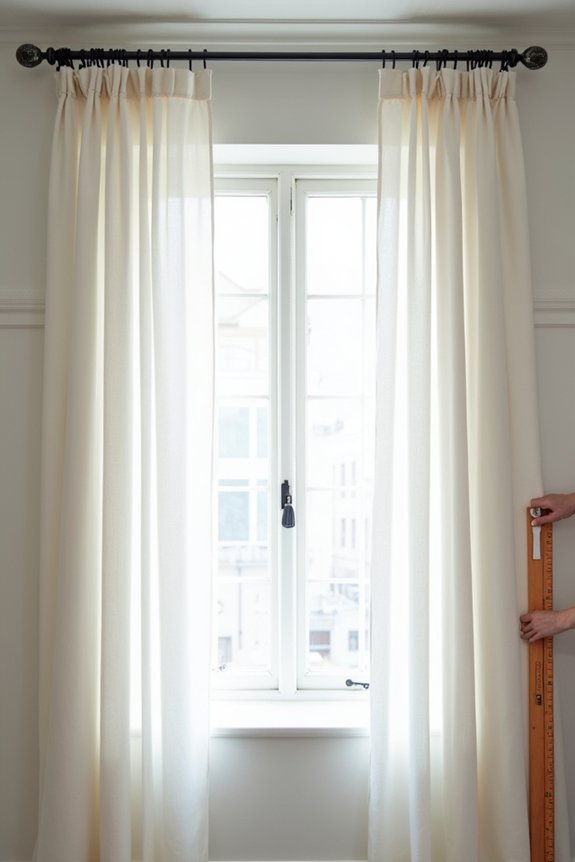
Even the best installations encounter sagging rods, uneven hemlines, and misaligned placements that compromise the finished look. I’ll walk you through three practical corrections: reinforcing drooping rods with middle support brackets or firm plastic inserts, measuring and trimming panels to create even hem lengths, and using ceiling edges as visual references when slopes affect alignment.
Rod Support and Reinforcement
Why do curtain rods sag, and what’s the fastest way to fix them? Large windows create horizontal stress that causes rods to flex downward between brackets. Adding reinforcement prevents this issue effectively.
What I recommend:
- Install a middle support bracket on spans exceeding 48 inches to create a third point of contact and eliminate flex across the rod
- Insert firm plastic or wooden dowels through gaps between rod sections to straighten sagging areas without replacing hardware
- Use adjustable brackets that allow fine-tuning of height and lateral positioning when ceiling irregularities affect rod alignment
These reinforcement strategies restore structural integrity quickly. A properly supported curtain rod maintains even hang and prevents future sagging. The key is addressing support before installation rather than troubleshooting afterward.
Hem Alignment and Correction
Once your rod is properly reinforced and level, the next step is guaranteeing your curtain panels hang with uniform hem alignment and aligned folds.
| Issue | Solution |
|---|---|
| Uneven hems | Use seam ripper to adjust, then resew at correct curtain length |
| Short hems post-installation | Recalculate from rod to floor (1/8–1/2 inch clearance) |
| Panels hanging unevenly | Split difference by adjusting each panel’s length equally |
| Crooked appearance from ceiling slope | Align rod with straight reference, adjust hem lengths accordingly |
You’ll measure from the rod to your desired floor clearance, accounting for the fabric’s actual dimensions. If panels hang unevenly across your window, add equal allowances to each side so folds align consistently. Undo existing stitches with a seam ripper, then resew at the corrected measurement. This precision delivers professional results and prevents future sagging or misalignment issues throughout the installation.
Ceiling Reference and Adjustment
How you align your curtain rod against your ceiling determines whether panels appear level or crooked throughout your installation. Your ceiling serves as the primary reference line for correcting visual inconsistencies across window treatments.
I recommend these alignment strategies:
- Use the ceiling line as your straight reference, aligning the rod edge parallel to it regardless of actual ceiling slope
- Position rods 8–12 inches above arched windows at the tallest point to establish a visually consistent horizontal line
- Add middle support brackets or firm rod inserts on large windows to prevent sagging that disrupts panel alignment
For uneven panel hem lengths caused by ceiling slope, measure downward from your ceiling reference to determine uniform distances. This approach maintains consistent floor clearance and creates professional-looking panel hem lengths. Your curtain rod alignment directly influences how your entire installation reads visually.
Hem Panels to Exact Length and Fix Common Mistakes
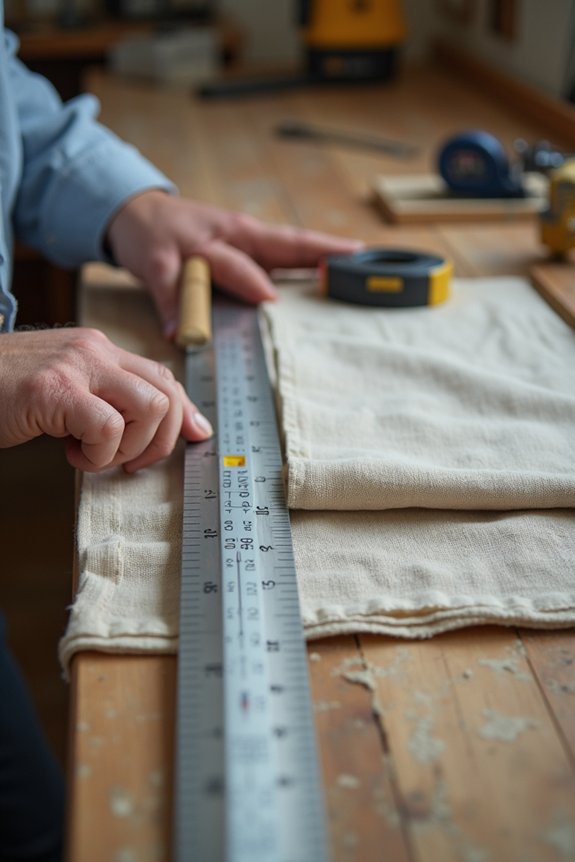
Getting your curtain length right determines whether your panels look polished or unfinished. I fold and sew the bottom first without cutting excess fabric, allowing adjustment if needed. This approach prevents costly mistakes during hemming.
Standard premade lengths—84, 96, or 108 inches—often require tailoring. The 84-inch option frequently falls short for typical installations. I measure from the rod to my desired endpoint, then add extra length as a safety margin.
For floor clearance, I aim for 1/8 to 1/4 inch of space above the surface. Alternatively, puddling creates an intentional pooling effect if you prefer a longer aesthetic.
If panels end up too short after alteration, I use a seam ripper to redo the hem rather than replacing fabric entirely. This salvages your investment while achieving the exact fit you need.