I’ll paint my fireplace interior with high-heat paint rated for 1200°F or higher, which refreshes soot-covered fireboxes in one afternoon.
First, I’ll clean thoroughly with a wire brush and TSP degreaser, then apply masonry primer to mortar joints using a one-inch flat brush.
Next, I’ll apply two coats of Rust-Oleum or Rutland high-heat paint, allowing 30 minutes between coats.
The entire project costs under $20 and avoids expensive renovations.
Proper curing time before heat exposure determines durability—manufacturer guidelines specify exact timelines for optimal results.
Why Painting Inside Your Fireplace Matters
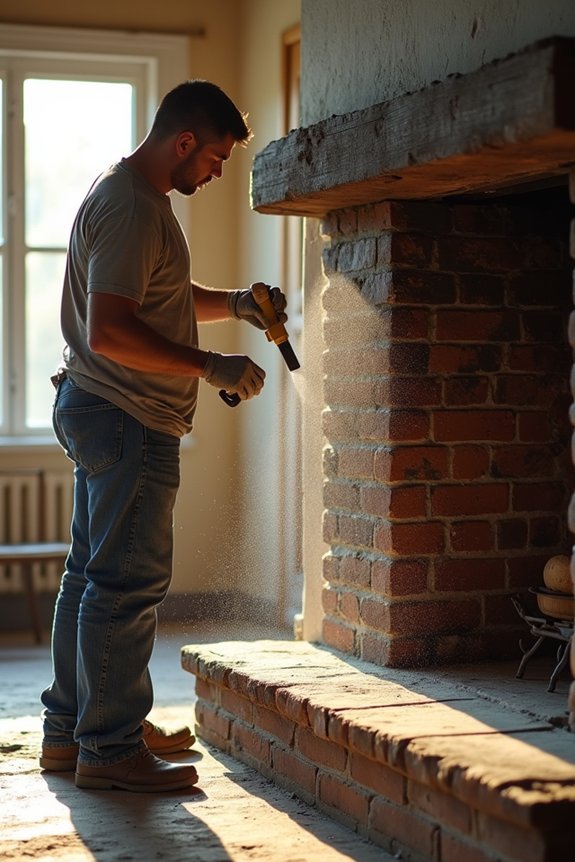
Why settle for a dingy, soot-covered firebox when you can refresh it in a single afternoon? Painting your interior fireplace improves the space without requiring extensive renovation or professional contractors. This simple upgrade works well for renters and new homeowners seeking immediate visual improvements. High-heat paint specifically formulated for fireplace interiors revitalizes tired, blackened surfaces. Regular interior latex or oil-based paints won’t withstand the intense temperatures your fireplace generates. The right high-heat paint resists flame exposure, meets safety compliance standards, and maintains durability through repeated heating cycles. A painted interior fireplace becomes a centerpiece that anchors your living space visually. The investment proves minimal compared to full remodeling projects. You’ll achieve noticeable results that enhance your home’s overall appeal and demonstrate deliberate design choices within your living environment.
What Type of Fireplace Do You Have?
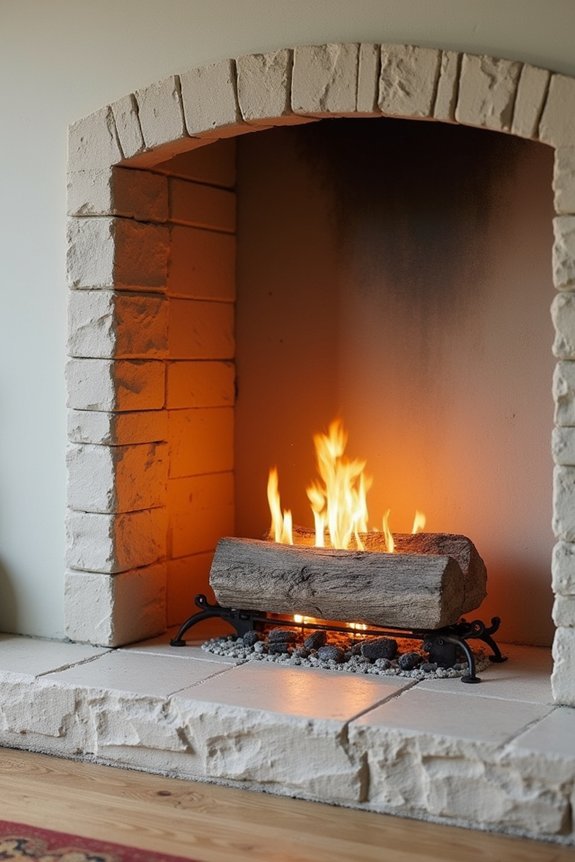
Before you start painting, I need to identify your fireplace’s construction type and fuel source. Masonry fireplaces—built from brick, stone, or concrete block—and metal fireboxes require different preparation and paint formulations based on their heat exposure and material composition. Gas fireplaces and wood-burning units generate different temperature zones, which directly affects which high-heat paint products I’ll use and how I’ll apply them safely.
Fireplace Construction Materials
Most traditional fireplaces you’ll encounter are constructed from brick and mortar, materials that demand specific preparation before you can paint them successfully. I’ll walk you through what makes these materials unique and why they require particular attention.
Brick serves as your fireplace’s primary structural component, while mortar fills the joints between individual units. Both surfaces are porous, meaning they absorb moisture and alkali salts that can compromise paint adhesion. Before painting, you’ll need to remove loose material using a stiff wire brush, then apply masonry primer. This primer resists alkali and efflorescence—salt deposits that migrate to the surface—protecting your paint coat. Using a 1-inch flat brush allows primer to penetrate mortar lines thoroughly, creating the foundation for durable coverage and professional results.
Gas Versus Wood Burning
The type of fireplace you’re painting—gas or wood-burning—fundamentally changes your preparation strategy and product selection. Gas fireplaces require you to turn off the gas supply and pilot light before starting work. You’ll need to protect or remove internal components like glass barriers and gas logs to prevent damage. Wood-burning fireplaces demand more intensive cleaning; you must remove soot, mineral buildup, and creosote residues from brick and mortar surfaces. Allow the firebox to cool completely before painting. Both fireplace types benefit from high-heat, masonry-safe paint products specifically formulated for extreme temperatures. Proper ventilation remains essential for addressing volatile organic compounds during application. Understanding your fireplace type helps you select appropriate materials and follow correct safety protocols throughout the painting process.
High-Heat Paint Types: Which Suits Your Fireplace?
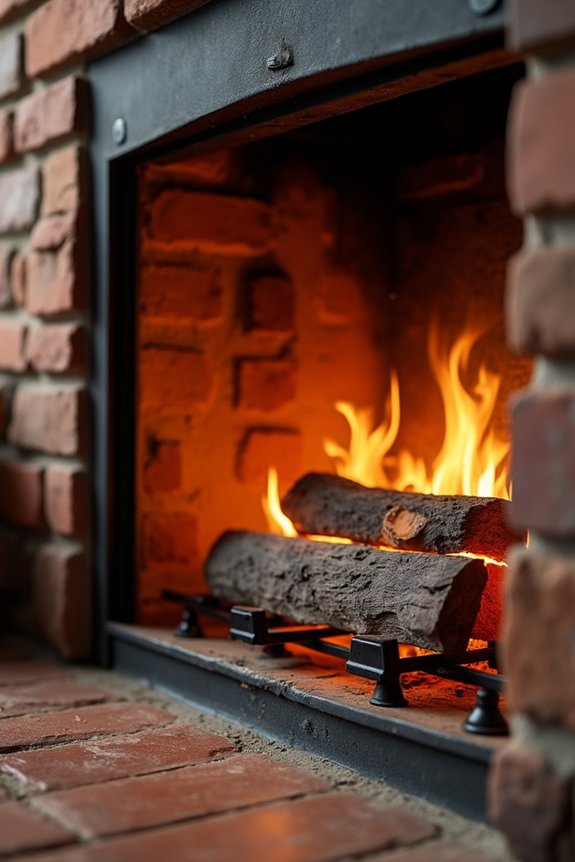
Why do standard interior paints fail inside a fireplace? Regular latex and oil-based paints release harmful fumes when exposed to high temperatures and ignition sources. You’ll need specialized high-heat formulations designed to withstand extreme conditions safely.
Standard interior paints release harmful fumes in fireplaces. Specialized high-heat formulations are required for safe application.
I recommend exploring two primary options. Rutland offers brush-on variants rated for 1200 degrees and 1400-degree low-VOC formulations, making them safer interior-finish choices. Rust-Oleum provides high-heat enamel alternatives, though you should verify manufacturer approval for indoor fireplace use before purchasing.
Most quality high-heat paints come in satin, semi-gloss, or gloss sheens. These finishes improve cleanability compared to matte options. For optimum durability on brick or masonry, apply primer first, then topcoat with heat-resistant paint.
Always confirm flame-retardant properties and VOC compatibility with your specific fireplace type before application.
Best Budget Paints for Fireboxes (Under $20)
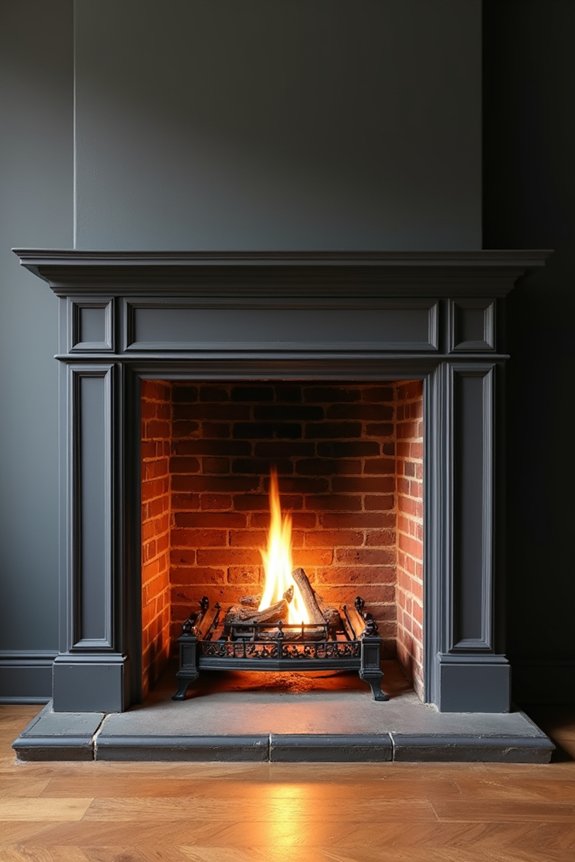
I’ve found that Rustoleum high-heat spray paints deliver solid results for roughly $14 per two-can set, fitting comfortably under your $20 budget. Rutland paint alternatives offer safer, low-VOC brush-on and spray options that work equally well for interior firebox applications at competitive prices. Both products require primer application and two coats for full coverage, so factor in total material costs when comparing cost-effective options across brands.
Rustoleum High Heat Spray
Rust-Oleum High Heat spray paint is a budget-conscious option for revitalizing firebox interiors at roughly $14 for two cans. This product delivers solid results when applied correctly.
Here’s what you need to know:
- Apply two coats using light, swept spray motions for full coverage
- Allow 30 minutes drying time between coats before heat curing
- Use a respirator during application due to volatile organic compounds
- Blend new paint with existing patina using dry brushing techniques
The High-Heat formula withstands elevated temperatures inside your firebox. However, some manufacturers don’t officially endorse Rust-Oleum for interior fireplace use. If you prioritize flame-retardant certification, consider Rutland as your alternative. Either way, proper ventilation and heat curing remain necessary for durability and safety.
Rutland Paint Alternatives
Rutland offers a flame-retardant solution specifically engineered for interior firebox applications, making it the manufacturer-endorsed alternative when spray options aren’t officially supported. You’ll find high-heat formulations available in 1200-degree brush-on and 1400-degree low VOC variants, all priced under $20 at retailers like Amazon, Ace Hardware, and Home Depot.
Applying Rutland requires no primer. You apply two coats for complete coverage, layering the product directly onto your firebox surface. The low VOC option reduces harmful emissions during application and curing.
Follow manufacturer-specific curing times before exposing your fireplace to heat. Provide proper ventilation during application. These flame-retardant products meet safety compliance standards for interior fireplace use, giving you a reliable, affordable option that prioritizes both performance and household safety requirements.
Cost-Effective Coverage Options
You have solid options when shopping for high-heat firebox paint under $20. I recommend exploring these budget-friendly choices that deliver reliable coverage and durability.
- Rutland high-heat brush-on paint offers versatile application at accessible price points
- Spray options from Rutland provide even coverage for detailed firebox surfaces
- Rust-Oleum high-heat enamel serves as a cheaper alternative when manufacturer guidelines permit interior use
- Low VOC formulations reduce fumes while maintaining performance standards
I’ve found that applying primer beforehand significantly improves adhesion on masonry surfaces. This separate step costs little but extends paint longevity considerably. Plan for two coats minimum, spacing applications thirty minutes apart for drying. Full curing requires longer periods before fireplace operation.
Major retailers including Amazon, Ace Hardware, and Home Depot stock these products consistently, making procurement straightforward and convenient for budget-conscious projects.
Curing Times by Paint Type and Heat Level
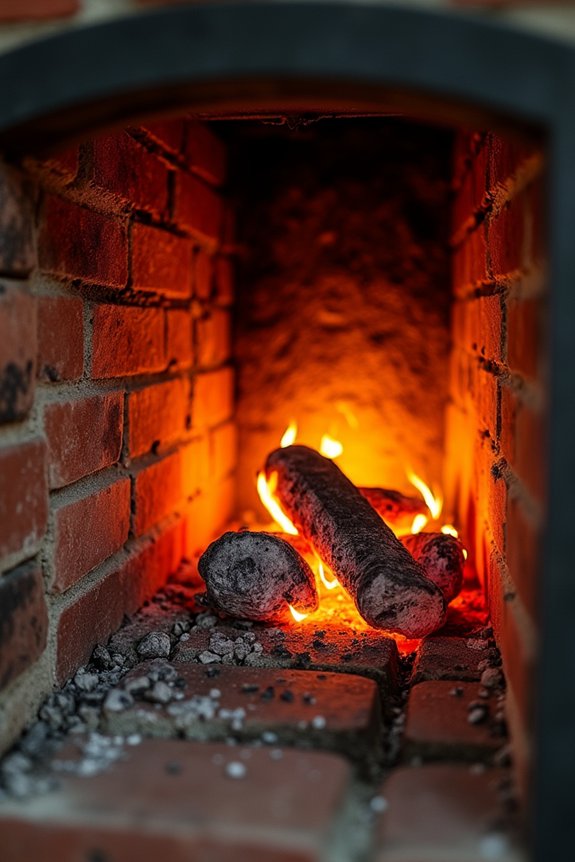
How long does fireplace paint actually need to cure? The answer depends directly on your paint type and heat level requirements.
High heat enamel paints require two coats and demand heat application beyond the initial 1–2 hour drying period. Initial drying and full curing aren’t identical. Your surface must be completely dry before you apply heat curing, which extends well beyond that quick dry-to-touch window.
Different brands specify particular bake or heating cycles. These sequences matter for achieving durable, flame-resistant results. Follow manufacturer guidance precisely.
Ventilation throughout curing prevents VOC-related odor buildup in your space. Rushing this process compromises paint performance inside your fireplace. Plan your project accordingly, allowing adequate time for complete curing before exposure to heat.
Gather Your Fireplace Painting Supplies
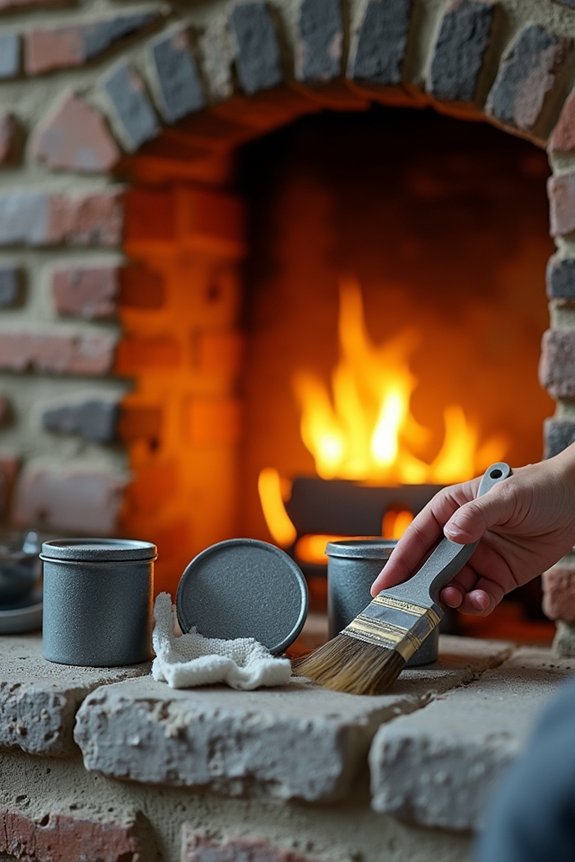
Before you paint your firebox, gather specific supplies organized into three categories. You’ll require high-heat, masonry-specific paint like Rutland, protective gear including gloves, and cleaning tools such as a stiff wire brush, degreaser, and TSP. Each item serves a distinct function: paint withstands extreme temperatures, gear protects you during preparation, and tools remove soot and grime from the firebox surface.
Essential Paint and Primers
What separates a successful fireplace paint job from a failed one comes down to selecting the right products. I’ve learned that standard interior paints won’t withstand the heat inside your firebox. You’ll need specialized high-heat fireplace paint designed specifically for extreme temperatures. Rutland and Rust-Oleum offer reliable alternatives that resist cracking and peeling.
Here’s what you’ll gather:
- High-heat fireplace paint rated for 1200°F+ temperatures
- Concrete or masonry primer for mortar lines and cracks
- Mini roller for even, controlled coverage
- Respirator and drop cloths for safety and protection
Apply the primer first along all joints and damaged areas. The primer creates adhesion between the masonry surface and your fireplace paint. This two-step approach improves durability and heat resistance. Skip neither product.
Protective Gear and Equipment
Protecting yourself during a fireplace paint job requires gathering specific gear before you touch brush to brick. You’ll need heavy-duty gloves that resist heat and solvents, a dust mask for cleaning phases, and a respirator for spray application. Adequate ventilation matters considerably when working with high-heat paints that release volatile organic compounds. Open windows, use fans, or work with doors propped open to manage VOCs effectively.
Assemble drop cloths to shield floors and surrounding surfaces from drips. Painter’s tape creates clean edges along brick and mortar lines. A stiff wire brush removes dirt, ash, and loose material efficiently. Add a shop vacuum to capture debris without spreading dust. These protective gear items and equipment pieces establish safe working conditions for your project’s duration.
Cleaning Tools and Materials
Gathering the right cleaning supplies before painting helps you remove built-up debris, ash, and surface contaminants that prevent proper paint adhesion. I’ll need specific tools to properly prepare my brick fireplace for its new finish.
- A stiff wire brush effectively removes loose debris and buildup from brick surfaces
- Warm soapy water or TSP degreaser breaks down stubborn stains and residue
- Heat-resistant paint designed for high heat environments provides durability and safety
- Gloves protect your hands from chemical cleaners and rough brick texture
Before committing to full cleaning, I’ll test my chosen degreaser on a small, inconspicuous area. This prevents potential damage to the brick fireplace finish. Once I’ve confirmed compatibility, I can proceed, thoroughly cleaning all interior surfaces that’ll receive the high heat paint application.
Prep the Surrounding Room With Tape and Drop Cloths
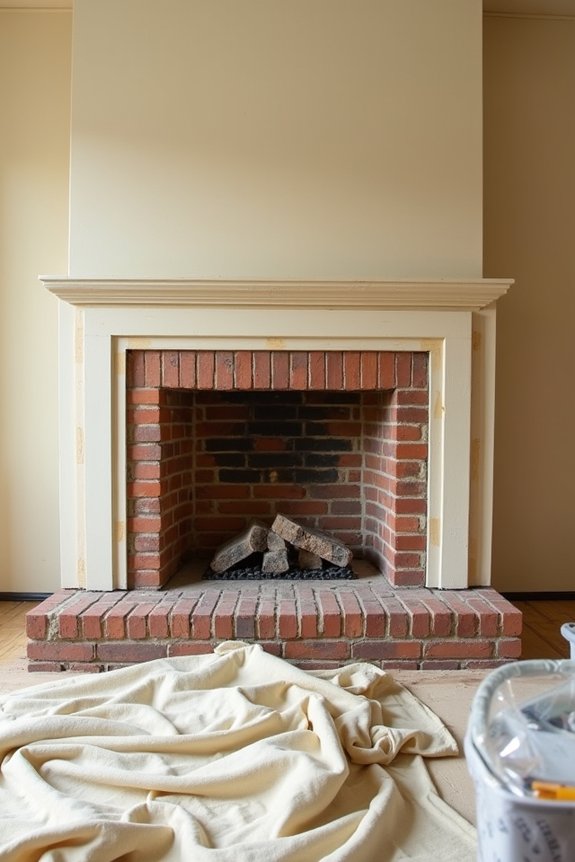
Before you start priming and painting, create a controlled work zone that keeps mess contained. Apply tape along the fireplace edge and trim to protect adjacent surfaces from primer and paint splatter. Lay down a drop cloth across the floor, extending it several feet beyond your work area. This barrier captures dust, debris, and drips effectively.
Cover surrounding furniture with protective coverings or additional drop cloths to prevent accidental damage. This approach prevents paint particles and cleaning residue from settling on nearby items.
Ventilation matters during this phase. Open windows and doors to manage VOC exposure from primers and paints. After brushing the firebox interior, vacuum thoroughly to remove dust and debris before applying any finish coats.
Clean and Remove Loose Material From the Firebox
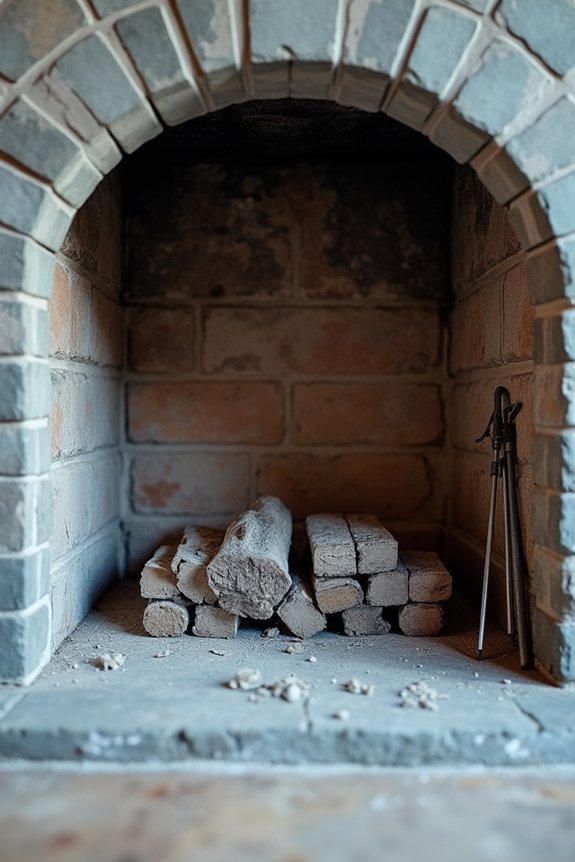
Now that you’ve established your work zone, it’s time to address the firebox itself. The interior accumulates debris, ash, and deteriorated mortar that must be removed before painting. This guide covers effective cleaning techniques.
Start your cleaning process with these steps:
- Use a stiff wire brush to focus on mortar lines, dislodging loose debris and buildup
- Brush the firebox walls and floor systematically for complete coverage
- Run a shop vacuum over all surfaces to eliminate dust and particles
- Inspect mortar for cracks or loose sections requiring repairs
After vacuuming, the firebox surface should be clean and ready for priming. This preparation prevents paint adhesion problems. Address any mortar damage now rather than after painting, creating a durable finish that withstands heat exposure and maintains structural integrity throughout seasons.
Apply Your First Coat of Heat-Safe Paint
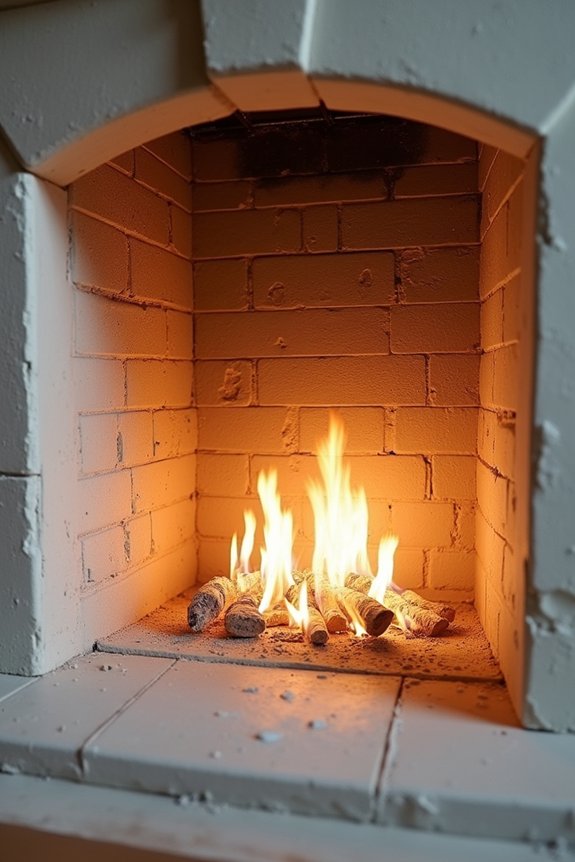
With your firebox now clean and prepped, selecting the right paint becomes your next step. You’ll need heat-safe paint specifically formulated for interior firebox applications. Regular latex or oil-based paints won’t withstand the high heat exposure.
Start by applying a concrete and masonry primer to mortar lines and cracks. This provides proper adhesion and coverage. Use a 2-inch brush for detail areas and a mini roller for broader surfaces, applying light, even strokes throughout.
Your paint color choice should complement your home’s aesthetic while meeting the high heat requirements. Apply your first coat evenly across all interior surfaces. Allow approximately 30 minutes for the initial drying to touch, though full curing takes longer. Plan for a second coat after complete drying to achieve consistent color and maximum durability.
Dry Brushing to Preserve Patina and Character
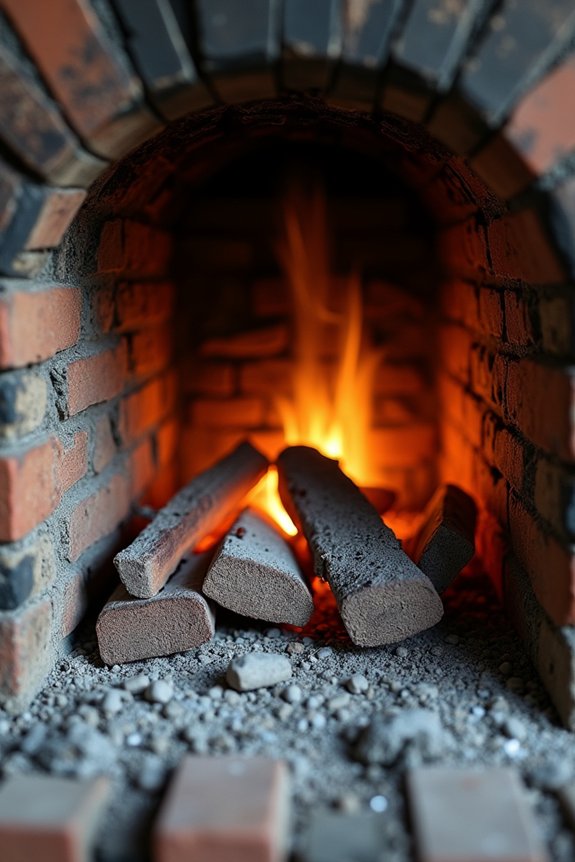
To preserve the character your fireplace has developed over time, dry brushing offers a controlled technique that blends new paint with existing patina rather than covering it completely. I load minimal paint onto my brush, then lightly sweep across aged surfaces. This method allows underlying texture and wear to show through, maintaining authenticity while updating your fireplace’s appearance.
Here’s what dry brushing accomplishes:
- Preserves visible patina on brick and mortar without full coverage
- Creates seamless transitions between old materials and fresh paint applications
- Maintains rustic character while achieving a subtle, updated finish
- Works effectively near aged areas where texture matters most
When paired with high-heat paint, dry brushing delivers a one-day update suitable for renters and new homeowners alike, refreshing your fireplace without sacrificing its developed character.
Apply Your Second Coat for Full Coverage
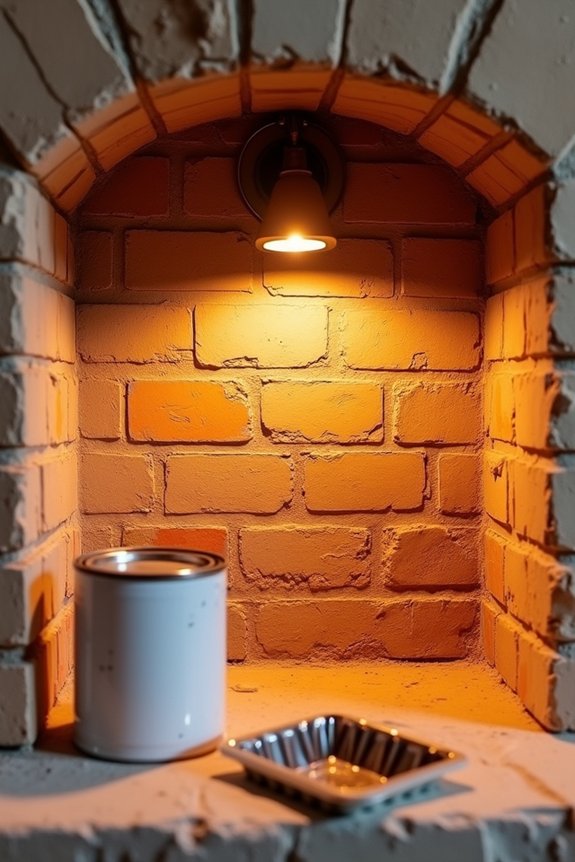
I’ll apply my second coat using light, short sweeping motions to achieve even distribution across the fireplace surface. Before starting, I need to allow the first coat to dry to touch—approximately 30 minutes—and clean the surface completely of dust and debris for maximum adhesion. This second coat requires the same technique as the first, with a total curing time of 1–2 hours before any heat application can occur.
Even Coverage Technique
How do you achieve a uniform finish across your fireplace brick and mortar? I’ll walk you through the technique that delivers consistent paint coverage on every surface.
- Use light, sweeping motions with your brush or spray tool to prevent heavy buildup that creates uneven color distribution
- Allow the first coat to dry to the touch, typically 30 minutes, before applying your second coat of paint
- Focus on mortar lines and corners where coverage tends to thin, applying deliberate strokes to reach recessed areas
- Employ dry brushing near aged areas to blend new paint with existing patina, maintaining visual continuity
Apply consistent pressure throughout each stroke. This method prevents visible transitions between painted sections. Your second coat builds on the first foundation, delivering the professional appearance you’re working toward.
Drying Between Coats
When’s the optimal moment to apply that second coat? Allow approximately 30 minutes for the first coat to dry to the touch before proceeding. Drying times vary based on ventilation and temperature conditions, so monitor your specific environment carefully. Plan for an extended session between applications.
Use light, sweeping motions when applying your second coat. This technique prevents heavy buildup and allows even drying across the fireplace interior. Two coats of high-heat paint deliver full coverage necessary for adequate protection.
After completing the second coat, follow the manufacturer’s cure times precisely. Apply heat to complete the curing process fully. This final step activates the high-heat paint’s protective properties, creating a durable finish capable of withstanding fireplace temperatures.
Common Mistakes That Ruin Fireplace Paint Jobs
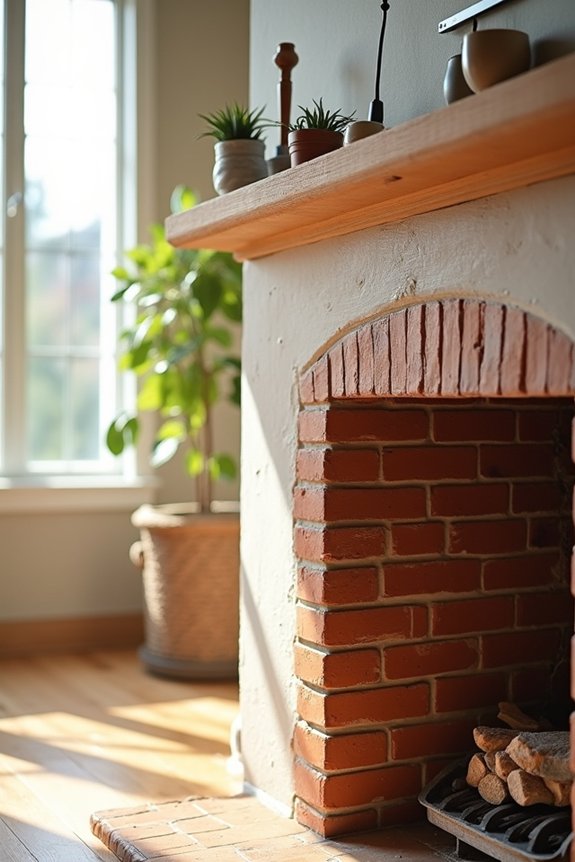
Why do fireplace paint jobs fail prematurely? I’ve found that most failures stem from overlooking critical preparation and application steps. When you skip these fundamentals, your paint won’t adhere properly or withstand high heat exposure.
- Using standard interior paint instead of high-heat formulations designed for fire exposure
- Neglecting primer application, which causes poor adhesion and uneven coverage on brick surfaces
- Failing to clean soot, mineral residue, and grease thoroughly before painting
- Applying paint without allowing sufficient cure time or heat-activation for durability
You’ll also encounter problems if you don’t wear a respirator during spraying. VOCs and heat-accelerated drying create dangerous conditions. Incomplete surface preparation leads directly to chipping and peeling topcoats. I recommend following each step methodically to achieve a lasting, professional finish.
How Long Before You Can Use Your Fireplace Again?
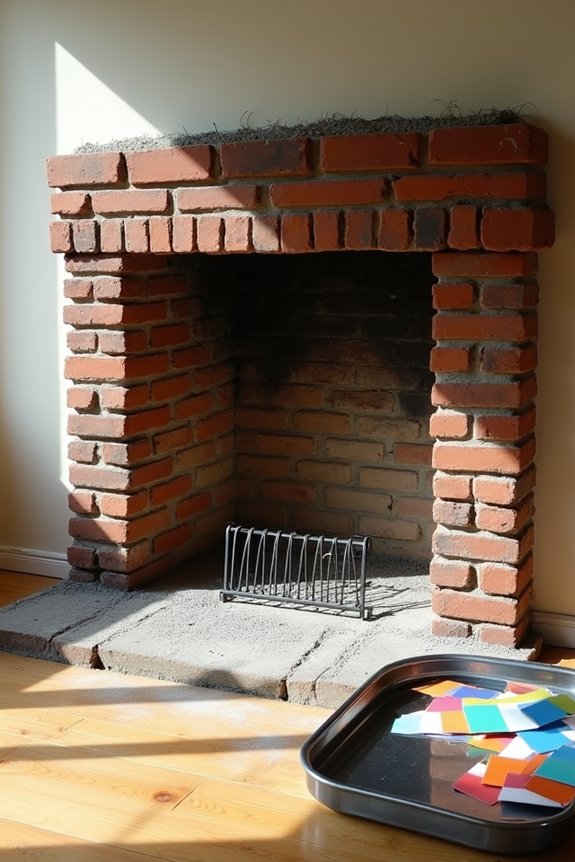
After you’ve applied your final coat of high-heat fireplace paint, you’ll need to exercise patience before resuming normal fireplace use. Most products require an overnight drying period before you can safely operate your fireplace again.
However, full curing demands heat application to reach final hardness. You’ll apply heat through fire use, following your paint’s specific cure times. This heat-cycling process activates the paint’s bonding mechanisms, establishing maximum durability and heat resistance.
Keep your pilot light off during the entire curing phase. Maintain adequate ventilation throughout this period. Depending on your product’s requirements, expect several days before achieving complete curing. Check your paint’s documentation for exact timelines and heat-application protocols. Rushing this timeline compromises the paint’s protective qualities and longevity.
Safety Tips for Gas and Wood-Burning Fireplaces
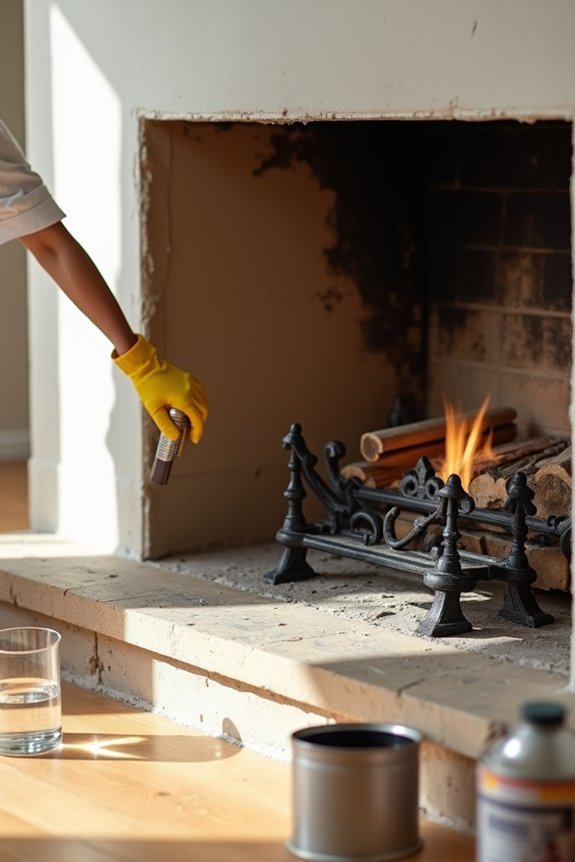
Before you pick up a paintbrush, your safety depends on three critical preparations: proper ventilation, respiratory protection, and complete fuel shutdown.
I recommend following these essential steps:
- Turn off the pilot light and extinguish all flames completely before beginning work
- Wear a respirator or suitable face mask to protect against VOCs from high-heat paints
- Maintain adequate ventilation throughout your workspace during application and curing
- Protect all gas components if a gas log set is present in your fireplace
High-heat interior paints release volatile organic compounds during application. Regular interior latex or standard oil-based paints won’t withstand fireplace temperatures and create hazardous fumes. Proper ventilation removes these harmful vapors from your breathing zone. Your respiratory protection adds an additional safety layer against inhalation exposure. These precautions work together to create a safe painting environment.
Your One-Weekend Fireplace Makeover Checklist
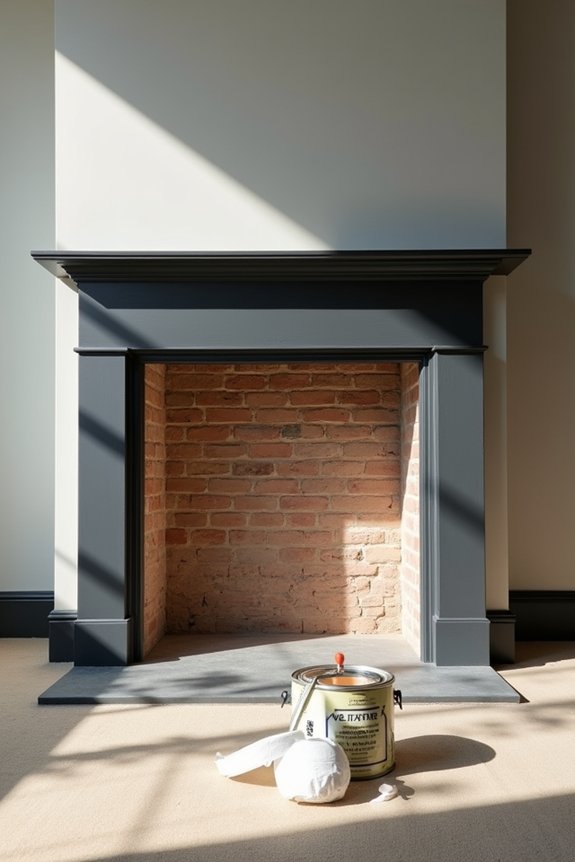
How you prepare your firebox determines whether your paint job lasts or fails within months. I vacuum the interior thoroughly, removing dust, soot, and debris before starting any deep cleaning work. Next, I use a stiff wire brush on mortar lines, then vacuum again to eliminate loose material completely.
I apply concrete and masonry primer to mortar lines using a 1-inch flat brush, allowing overnight drying. For the high heat environment, I select heat-resistant paint and apply light coats. I start with mortar lines and cracks, then use a mini roller for remaining surfaces. A second coat follows after the first dries completely. Finally, I cure the finished interior with proper heat application per product guidance, typically requiring overnight drying plus additional curing time.