I’ll burn pine safely by clearing flammables within three feet of the firebox, seasoning logs for six months to reach 12–18% moisture content, and fully opening the damper before lighting. I use pine as kindling only, then transition to hardwoods for sustained heat. I keep a screen, fire extinguisher, and smoke detector nearby, supervise constantly, and schedule annual chimney inspections since pine’s resin deposits accelerate creosote buildup. Understanding the specific mechanics behind each step will strengthen your approach.
Clear Flammable Materials First
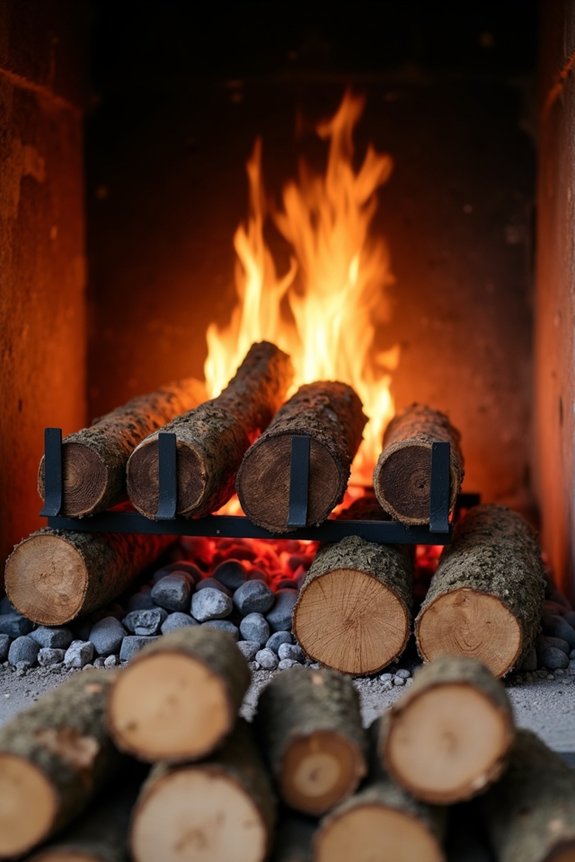
Before you light your first fire, create a safe burning environment by removing potential fire hazards from your fireplace area. Establish a 3-foot clearance zone around the firebox. Remove all flammable materials—curtains, upholstered furniture, and area rugs—from this perimeter. Papers, magazines, and wooden boxes pose ignition risks from sparks or embers. Relocate these combustibles away from the hearth entirely.
Inspect the space above your fireplace carefully. Decorations and drying racks can catch airborne embers if a spark jumps upward. Move wall hangings and shelving units to a safe distance. Keep any remaining items away from heat exposure and potential falling hazards.
Install a non-combustible hearth pad or tile directly in front of the firebox. This protective layer shields your flooring from heat damage and stray embers.
Season Your Pine for At Least Six Months
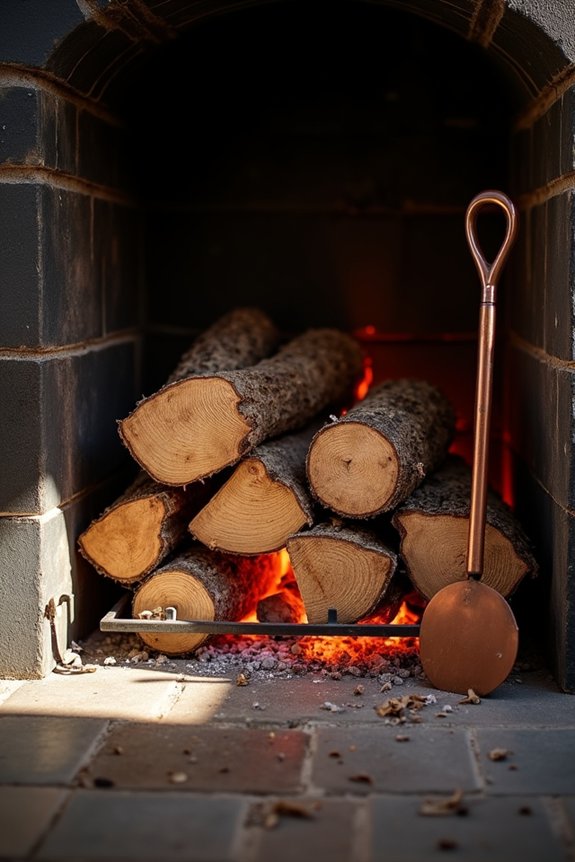
Why does seasoning matter so much for fireplace pine? Seasoned pine wood reduces moisture content significantly, enabling cleaner, hotter burns. I recommend waiting at least six months before burning your pine supply.
During seasoning, moisture gradually evaporates from the wood’s interior and surface. This drying process converts green pine into a reliable fuel source. Properly seasoned pine ignites faster and produces less excess smoke than unseasoned wood.
Properly seasoned pine ignites faster and produces less excess smoke than unseasoned wood, making it a reliable fuel source.
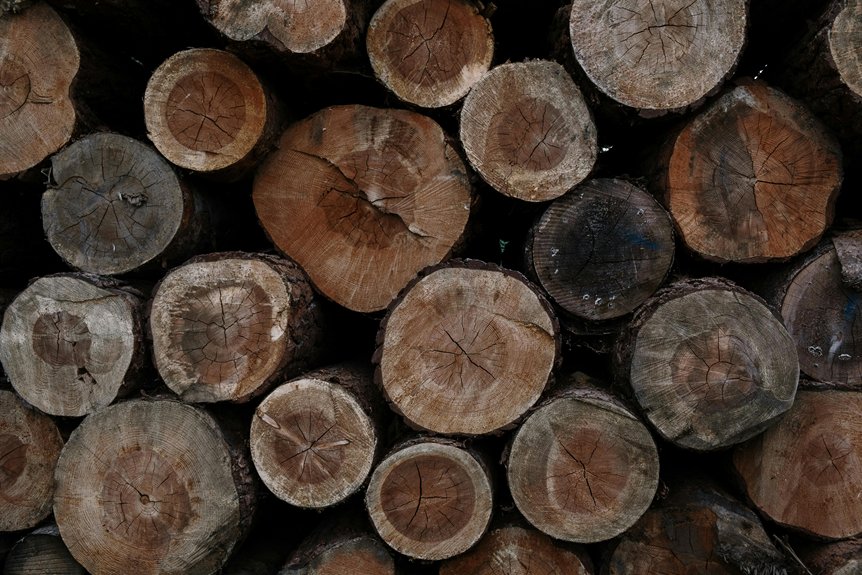
To verify adequate seasoning, I check for visible cracks, lighter coloring, and reduced weight. Store your seasoned pine wood in dry, ventilated areas to prevent moisture reabsorption. This storage method maintains burn quality over time.
Note that seasoned pine still contains sap, which increases creosote buildup risk. Proper burning techniques minimize this concern significantly.
Test Your Wood’s Moisture Before Burning
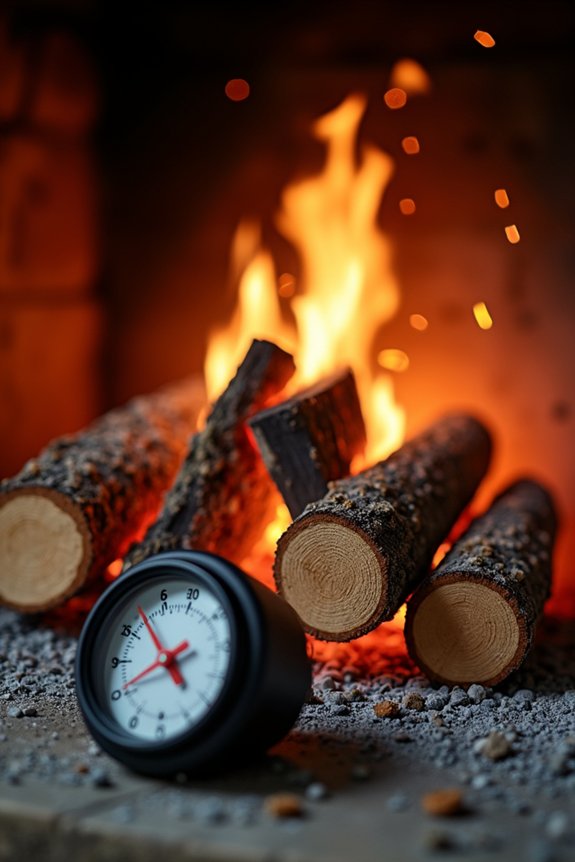
I’ll test my wood’s moisture content using a wood moisture meter, which gives me a reading of 20% or less for properly seasoned pine. If I don’t have a meter available, I can weigh a split piece and compare it to green wood of identical size, since seasoned wood weighs noticeably less due to moisture loss. I’ll also watch for visual cues like end cracks, a dull gray surface, and a strong non-resinous scent, which indicate my pine has seasoned adequately and won’t produce excessive creosote when burned.
Moisture Meter Accuracy Matters
A moisture meter is your most reliable tool for determining whether pine firewood is ready to burn safely. I recommend taking readings at multiple locations on each log. Here’s what you need to do:
- Test the center of the log where moisture persists longest
- Check the end grain, which dries faster than other sections
- Record readings from at least three different logs in your stack
- Compare all measurements to verify uniform dryness across your supply
Your moisture meter should display readings of 20% or less before you burn pine indoors. When readings exceed this threshold, creosote buildup accelerates in your chimney. Store wood in dry, well-ventilated areas and retest after additional seasoning. Consistent accuracy across multiple measurement points confirms your firewood has properly dried and will burn cleanly and efficiently in your fireplace.
The Seasoning Timeline Essentials
How long does pine actually need to dry before it’s safe for your fireplace? I recommend seasoning pine for at least six months before burning. This timeline allows moisture to evaporate sufficiently, reducing creosote buildup in your chimney. You’ll know your wood’s ready when moisture content drops below 20%, which I verify using a moisture meter. Pine presents unique challenges because its resin and sap persist even after seasoning. Inadequate drying leaves moisture trapped within the wood, intensifying creosote accumulation during combustion. Split your pine logs to expose bark-free surfaces, accelerating drying rates. Store seasoned wood off the ground and covered on all sides to prevent moisture reabsorption. This storage method maintains your seasoning progress, keeping fuel quality consistent throughout the burning season.
Wet Wood Warning Signs
When you’re ready to light your fireplace, the wood’s moisture content determines whether you’ll get efficient heat or wasted smoke. I recommend testing your wood before burning to confirm it’s properly seasoned.
Wet wood exhibits specific warning signs you’ll notice during combustion:
- Hissing and sizzling sounds from the wood surface
- Frequent popping caused by trapped moisture expanding
- Dull flames with blue smoke instead of bright orange
- Excessive smoke and soot accumulation in your chimney
Target moisture content of 20% or lower, ideally 12–18%, using a moisture meter for verification. Inadequate drying causes creosote buildup from inefficient combustion and cooler flame temperatures, increasing chimney fire risk. Air-dry stacked logs at least six months before burning. This preparation allows your pine to burn cleanly and produces maximum heat output.
Arrange Your Fireplace Grate for Airflow
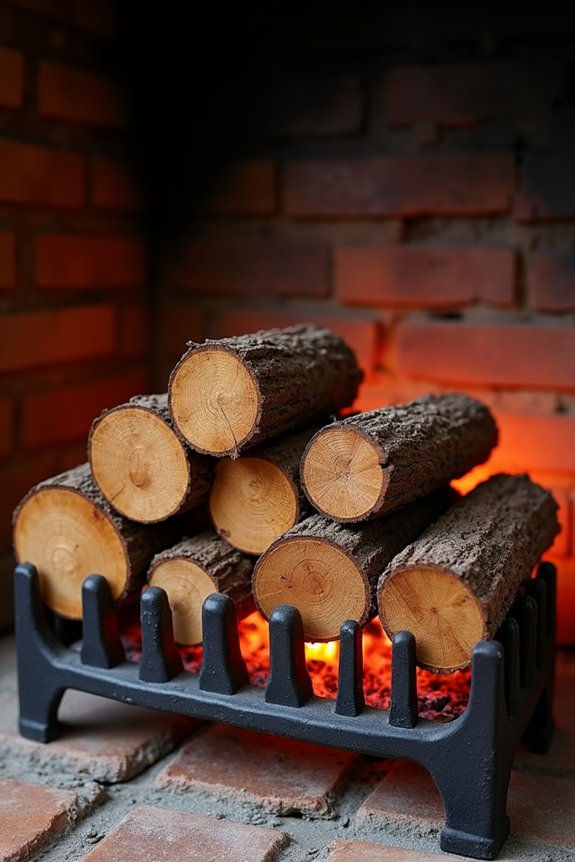
Your grate’s position directly controls how efficiently pine burns in your fireplace. Position it to maximize airflow underneath and around the logs, allowing cool room air to feed the fire as it travels upward. A small gap between the grate and the base promotes steady, chimney-friendly draft while preventing smoke from pooling—important for avoiding chimney fires.
Use a low-profile grate for pine to encourage direct heat exposure and faster combustion without smothering flames. Keep the grate level and stable to maintain consistent ember bed depth and prevent logs from rolling or tipping.
Arrange kindling and dry pine with open spacings to improve air circulation and reduce incomplete combustion. This configuration creates the foundation for safe, efficient pine burning that protects your chimney system.
Open the Damper Fully Before Lighting
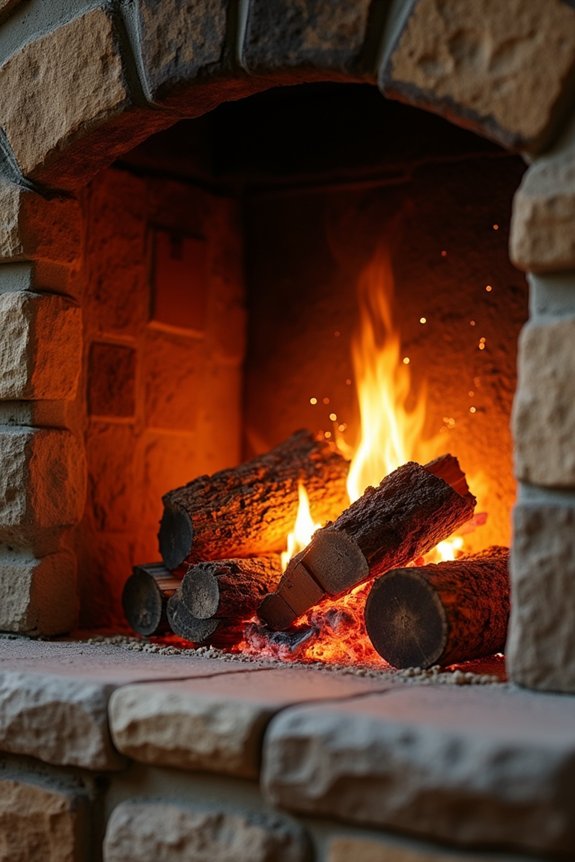
I need to fully open my damper before striking a match, and here’s why that matters for safe pine burning. A fully open damper creates proper draft by allowing combustion-ready air to rise up the chimney, which promotes complete fuel consumption and prevents smoke from backing into my living space. I’ll keep the damper open throughout the entire burn cycle, only closing it once all embers have completely burned out, since this venting technique reduces creosote buildup and maintains consistent burning efficiency.
Why Damper Opening Matters
Have you considered how a fully open damper affects your fireplace’s performance?
Opening your damper completely before lighting creates the foundation for safe pine burning. I’ve found that this simple action prevents smoke from spilling into your living space. A fully open damper allows warm combustion gases to rise smoothly up the chimney, reducing backdraft considerably.
Why damper opening matters:
- Establishes clear vertical draft before ignition occurs
- Reduces indoor soot accumulation from incomplete combustion
- Prevents creosote buildup that increases chimney fire risk
- Maintains steady airflow until flames fully extinguish
Keep your damper open throughout the entire burning process. Closing it prematurely traps heat and smoke inside, degrading air quality. Before each fire, verify your damper operates freely without debris obstruction. This verification step protects your home from hazardous smoke exposure.
Proper Venting Techniques
When does smoke control become your primary concern before igniting pine?
I open the damper fully before lighting any fire. This single action prevents smoke from backing up into my living space. Keeping the damper open maintains continuous upward draft throughout the burn cycle.
| Damper Position | Draft Quality | Smoke Risk |
|---|---|---|
| Fully open | Strong, consistent | Minimal |
| Partially closed | Weak, interrupted | High backdraft |
| Closed | None | Complete backup |
I leave the damper open until flames completely extinguish. This practice reduces creosote buildup inside the flue while improving combustion efficiency. Hotter, more complete burns occur with proper airflow. After the fire dies, I keep the damper open briefly to clear remaining smoke and prevent moisture accumulation in the flue system.
Build a Small, Hot Fire: Never a Smoldering Heap
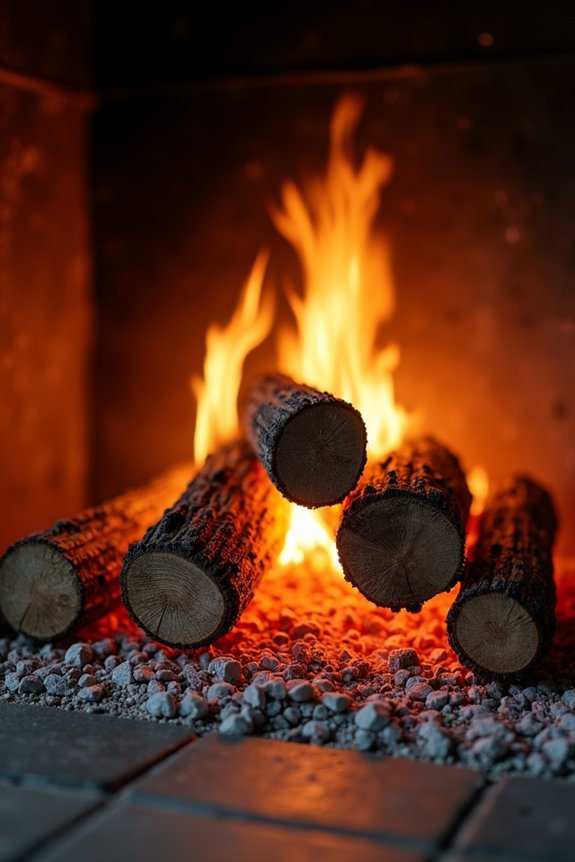
The foundation of safe pine burning lies in building a small, hot fire rather than allowing wood to smolder in your fireplace. Maintaining intense heat reduces creosote accumulation significantly. Here’s how to approach this method:
- Start with dry pine kindling to establish a strong flame before adding larger seasoned logs
- Use only season-dried wood; moisture content above 20% creates excessive smoke and inefficient combustion
- Avoid oversized loads that restrict airflow and promote smoldering conditions
- Add wood steadily and controlled, maintaining active combustion throughout the burn cycle
Keep your damper fully open until the fire completely burns out. This continuous oxygen flow sustains the hot burn you’re aiming for. Short-lived, intense fires outperform prolonged smoldering in every measurable way—cleaner operation, better heat output, and minimal creosote buildup inside your chimney.
Blend Pine With Oak or Hickory to Slow the Burn
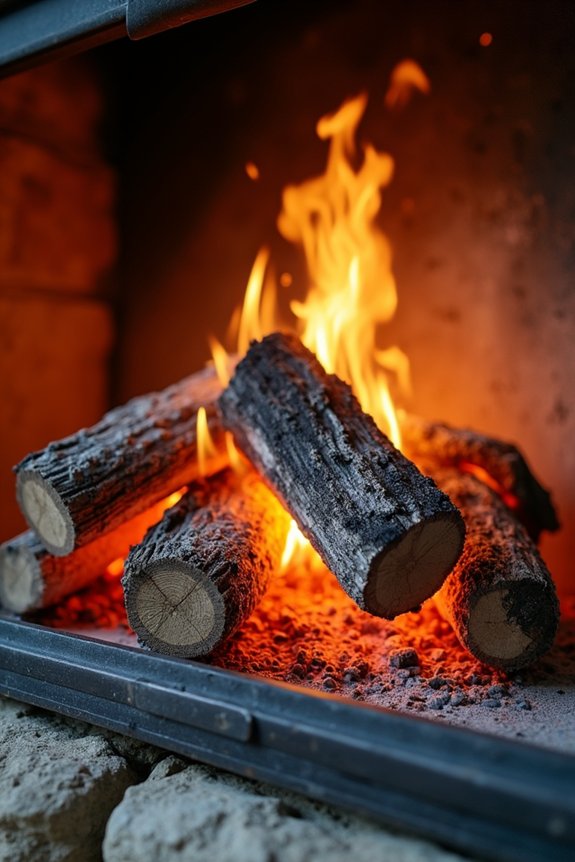
I’ve found that mixing pine with oak or hickory changes how your fire behaves, slowing consumption and improving safety. Hardwoods like oak and hickory contain denser wood fibers that lower heat output rates and stabilize flames when combined with pine’s quick-ignition properties. I recommend using roughly one part pine to two or three parts seasoned oak or hickory, which balances rapid ignition with extended, cleaner burning while managing heat duration effectively.
Why Hardwoods Improve Burns
Why does blending pine with hardwoods like oak or hickory produce safer, more controlled burns? Hardwoods possess denser cellular structures that moderate flame intensity and extend heat output. Here’s what you’ll experience:
- Slower burn rate: Hardwoods’ density slows combustion, requiring less frequent reloading than pine alone
- Steadier temperature: The fire maintains consistent heat rather than the rapid, intense spikes pine creates
- Reduced creosote buildup: Higher, stable temperatures prevent the dangerous deposits that rapid pine flames encourage
- Extended thermal mass: Hardwoods retain useable heat longer, maximizing your fireplace’s efficiency
A 1-to-2 pine-to-hardwood ratio balances ignition ease with prolonged warmth. Seasoned hardwoods also improve airflow dynamics, decreasing sparking and soot accumulation within your confined fireplace space. This combination creates the controlled environment you’re seeking.
Optimal Wood Blending Ratios
Achieving a controlled, efficient fireplace burn requires balancing pine’s rapid ignition properties with hardwood’s sustained heat output. I’d recommend a practical 1:2 to 1:3 ratio of pine to oak or hickory. This blend maximizes your fuel efficiency while minimizing creosote buildup. The pine catches quickly, establishing your initial flame. The hardwood then sustains that fire, extending your coal bed duration considerably. Smaller, evenly sized pine kindling works best as your starter material. Pair it with larger hardwood logs for optimal burn progression. This combination prevents low-temperature, smoky burning that occurs with pine alone. Maintain proper airflow throughout your fireplace. Avoid overloading the firebox, which restricts oxygen flow. This blended approach gives you faster warmth without sacrificing the extended, steady heat hardwoods provide independently.
Managing Heat and Duration
How does blending pine with hardwoods actually extend your fireplace burn time?
I’ve found that combining pine with oak or hickory creates a sustained burn that outperforms either wood alone. Pine ignites quickly due to its resin content, while hardwoods maintain steady heat longer. Here’s what happens:
- Pine provides rapid ignition and initial heat spike for quick flame establishment
- Hardwoods increase fuel density, slowing the burn rate substantially
- Mixed logs retain heat longer, reducing frequent refueling needs
- Sustained flame temperatures minimize creosote buildup in your chimney, lessening chimney cleaning frequency
The ideal ratio includes more hardwood than pine—roughly 70% hardwood to 30% pine. Start with small pine pieces to ignite the hardwood base, then gradually add pine to maintain controlled combustion. This method extends burn duration while managing emissions effectively and protecting your chimney system.
Stay in the Room While Your Fire Burns
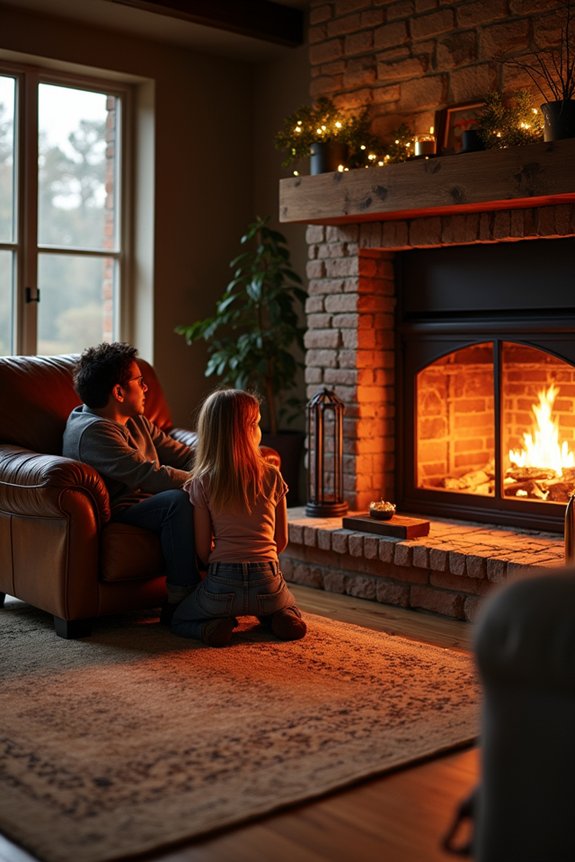
Active supervision of your fire is necessary whenever flames are present in your fireplace. I remain seated nearby, positioned to monitor the fire’s behavior and react quickly if flames or sparks threaten surrounding materials. Burning pine wood requires attentive monitoring since this softwood produces more sparks than hardwoods.
I keep a working smoke detector and fire extinguisher within arm’s reach in the same room. I don’t leave until the fire is completely out and embers are cool. A fire screen or glass doors prevent embers from escaping while I’m present.
I maintain a clear area around the fireplace. I remove curtains, furniture, and papers within several feet of the opening. This dedicated supervision and preparation create the controlled environment necessary for safe pine burning.
Never Burn Wet or Green Pine: It Kills Both Fire and Safety
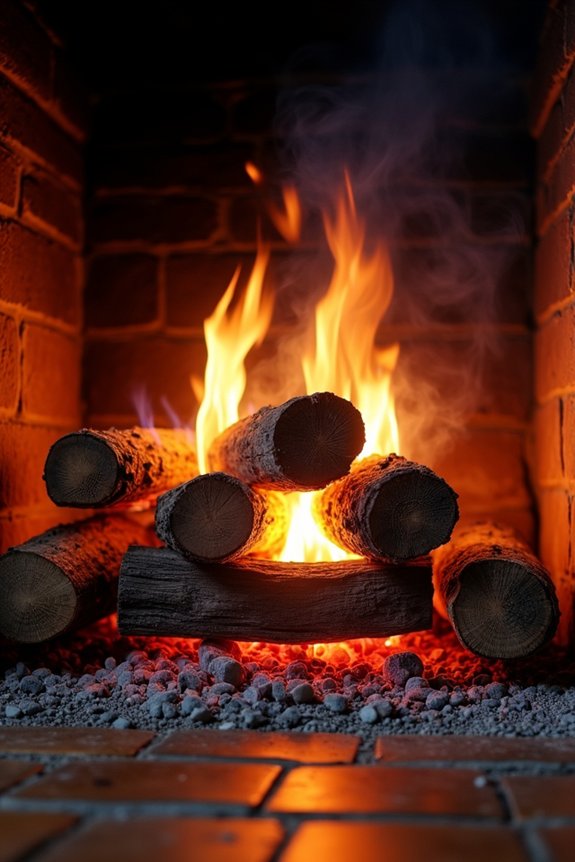
Why does wet or green pine sabotage both your fire and your chimney’s safety? I’ll explain the mechanics directly.
When you burn wet or green pine, you’re introducing excess moisture into your fireplace system. Here’s what happens:
- Moisture content hinders ignition – The wood requires more energy to dry before combustion begins, making fires harder to start
- Heat output drops noticeably – Water vapor boiling off consumes energy that’d otherwise warm your home
- Creosote buildup accelerates – Thicker, cooler flames deposit flammable residue on flue walls progressively over time
- Indoor air quality suffers – Excess smoke and soot enter your living space, creating respiratory hazards
Burn well-seasoned wood exclusively. Look for visible dryness indicators on the wood surface and verify moisture content before loading your fireplace. This approach maximizes both safety and performance consistently.
Creosote Builds From Low Heat, Not From Pine Alone
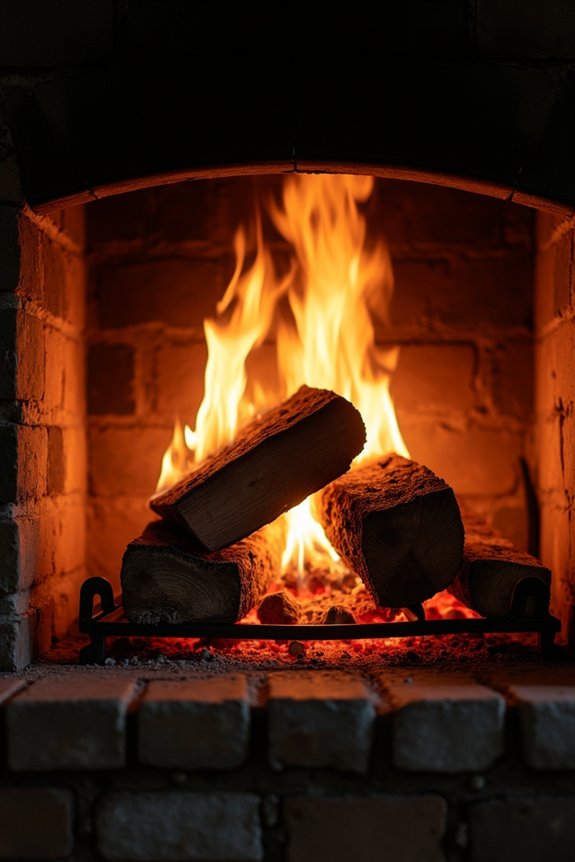
The creosote problem in your chimney stems primarily from low flame temperatures, not pine’s chemical composition itself. When you burn wood inefficiently, water evaporation cools your fire below optimal combustion levels. This temperature drop causes unburned particles to condense inside your chimney as creosote buildup. Pine’s resin and sap enhance ignition and flame intensity, but they don’t inherently create excess creosote compared to hardwood under high-heat conditions. University of Georgia research confirms this distinction. The real variable determining creosote accumulation is burn efficiency. Dry, seasoned wood—whether pine or hardwood—combusts at higher temperatures, reducing creosote formation significantly. You’ll minimize chimney deposits by maintaining proper airflow, using fully seasoned fuel with moisture content below twenty percent, and verifying your fireplace design supports sustained, complete combustion rather than selecting wood type alone.
Call a Chimney Sweep if You Burn Pine Regularly
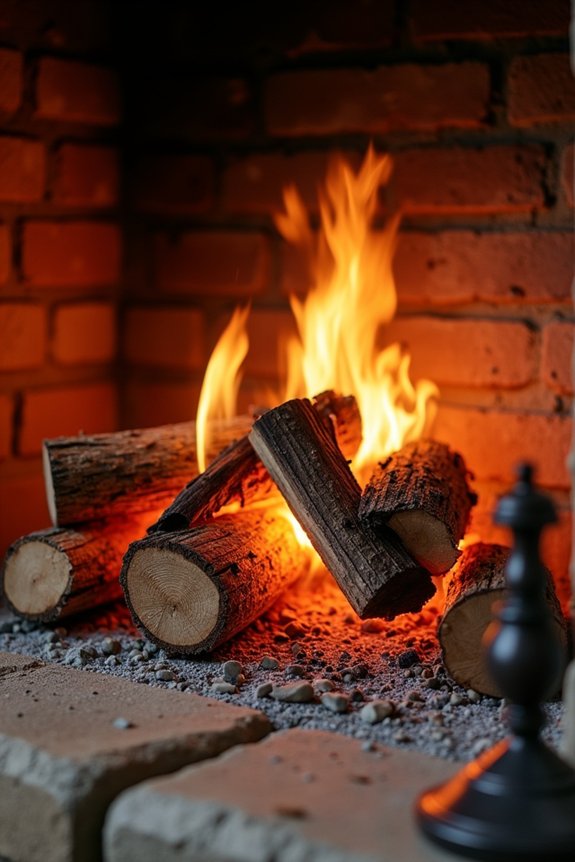
Even when you’ve seasoned your pine thoroughly and maintain proper airflow, regular burning still deposits sap and resin residue inside your chimney system. I recommend scheduling professional inspections to catch creosote buildup before it becomes hazardous.
Why chimney sweeps matter for pine burning:
- Annual inspections identify hidden deposits that accumulate in flue liners and bends
- Professional cleaning removes sap residue that standard brushing might miss
- Technicians assess chimney structural integrity for cracks or deterioration from heat exposure
- Early detection prevents chimney fires by eliminating combustible creosote concentrations
Regular pine burning demands more frequent monitoring than hardwood use. A certified sweep documents creosote levels, measures buildup thickness, and determines if your flue requires additional cleaning cycles. This proactive approach keeps your venting system functioning safely and protects your home’s structural integrity throughout the heating season.
Use Pine as Kindling: Save Hardwood for the Main Burn
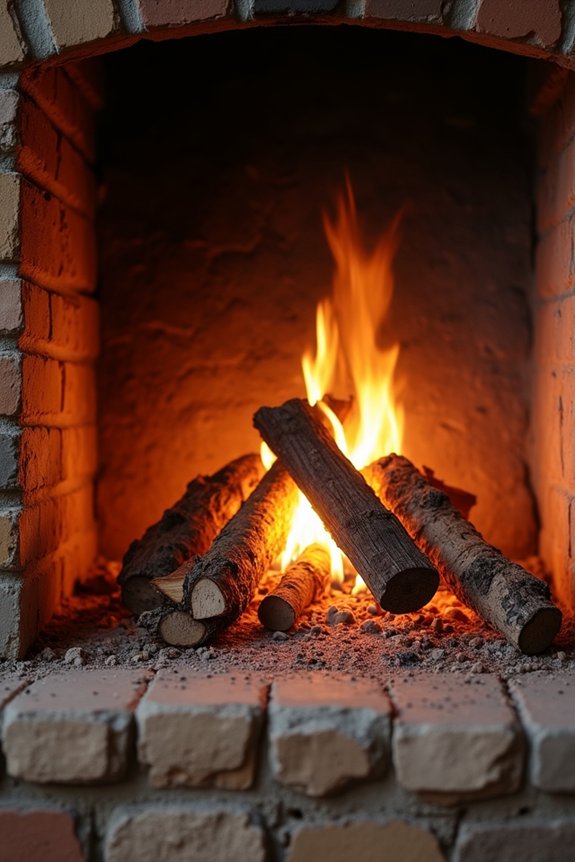
If you’ve got pine wood available, here’s your best strategy: use it as kindling, not your primary fuel. Pine logs ignite quickly due to high resin content, making them ideal for starting fires. Their rapid combustion creates the initial heat necessary to ignite hardwoods like oak, maple, and hickory.
Pine’s high resin content makes it ideal kindling for quickly igniting hardwoods like oak, maple, and hickory.
Reserve hardwoods for your main burn. They sustain heat longer and burn more steadily than pine. This approach minimizes excessive flames and smoke while maximizing efficiency.
Mix pine with hardwoods during transitional phases. This combination slows overall burn rate and maintains consistent temperature. Season pine logs for at least six months beforehand. Properly dried wood reduces smoke production and creosote buildup considerably.
Never burn pine exclusively. Use it strategically to establish your fire, then transition to hardwood for lasting warmth.