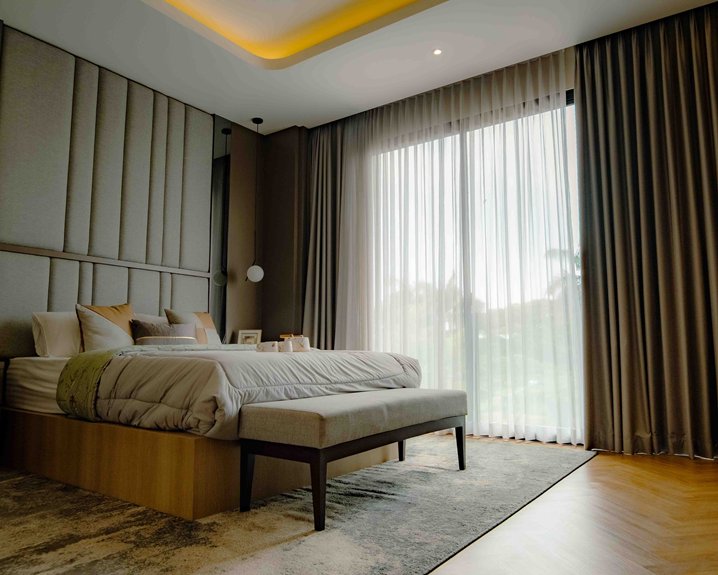
Your curtains should reach one of three positions: float-length (½–1 inch above floor), break-length (1–2 inches past floor), or puddle-length (3–6 inches pooling).
Start by measuring from your rod’s bottom to the floor, then subtract ½ inch for float or add inches for break and puddle effects.
High-traffic areas favor float-length for maintenance; formal spaces suit puddle-length for visual impact.
Room type and ceiling height determine your best choice, so understanding each length’s functional trade-offs reveals which option matches your specific space.
Measure Rod to Floor: The Foundational Method
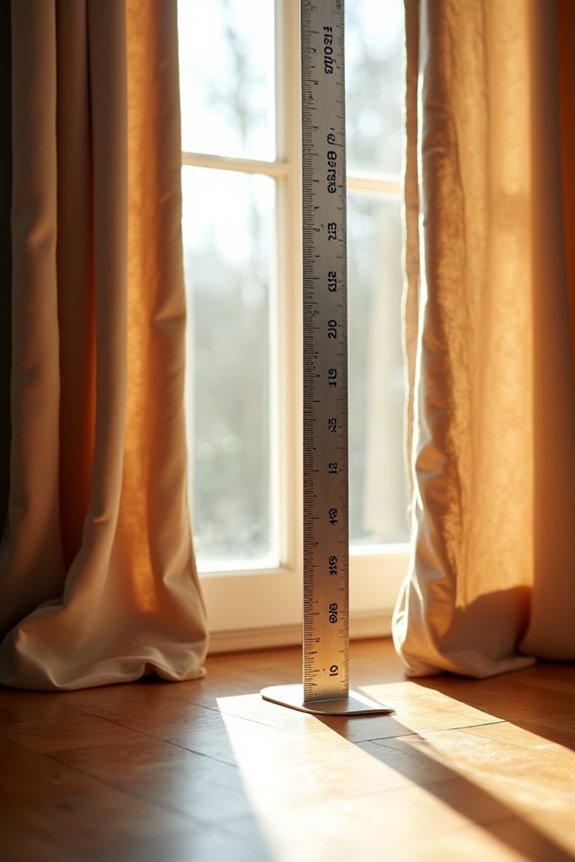
How do you determine the exact curtain length you need? I’ll walk you through the foundational measurement process that establishes your curtain’s entire aesthetic.
Start by positioning your tape measure at the bottom of your curtain rod or rings. Run it straight down toward the floor, capturing any hardware in your measurement. This rod to floor distance serves as your baseline for all length calculations.
Measure from the bottom of your rod or rings straight down to the floor—this baseline distance determines all your curtain length calculations.
From this measurement, you’ll adjust based on your desired look. Subtract one-half inch for a float that hovers above the floor. Add one to two inches for a break-length that gently kisses the floor. Add three to six inches for a puddle-length that pools beyond it.
This measure-first approach eliminates guesswork and delivers floor clearance that matches your design intention precisely.
The Three Curtain Lengths: Touching, Hovering, and Puddling

Once you’ve measured your rod-to-floor distance, you’re ready to apply it toward one of three distinct curtain lengths, each delivering different visual and practical outcomes. Float-length curtains hover ½ to 1 inch above the floor, created by subtracting ½ inch from your measurement for a modern aesthetic. Break-length curtains kiss the floor or extend 1–2 inches beyond it, offering versatile styling that suits most spaces. Puddle-length curtains pool 3–6 inches on the floor, requiring you to add that footage to your base measurement for formal, dramatic results. Float-length prioritizes cleaning ease and contemporary design. Break-length balances elegance with functionality. Puddle-length demands high-traffic awareness and pet considerations. Your choice determines both appearance and maintenance requirements.
Why Curtain Length Changes How Big Your Room Looks

Your curtain length directly influences how spacious or intimate a room feels, making it an important design decision beyond mere aesthetics. Floor-length curtains create continuous vertical lines that enhance perceived room size by drawing the eye upward toward ceiling height. Break-length curtains kissing the floor produce this same elongating effect, while float-length curtains resting ½ inch above the floor offer a crisp, modern appearance that maximizes openness. Puddle-length curtains with 3–6 inches pooling on the floor add drama and coziness, shifting the room’s perception toward intimacy rather than spaciousness. Your curtain length choice determines whether your space feels expansive or intimate. Pairing appropriate curtain length with high rod placement amplifies light penetration and reinforces the visual impression of a larger room.
Floor-Length Curtains for Living Rooms and Bedrooms
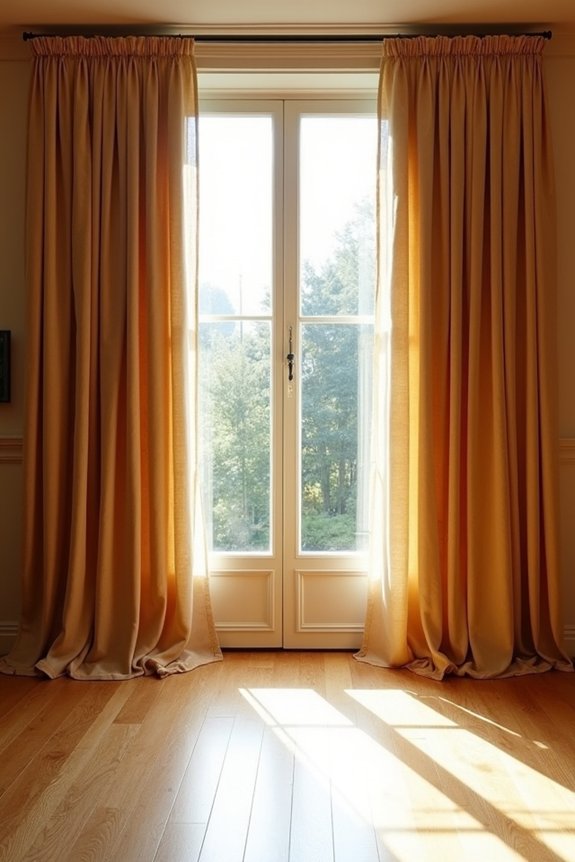
Floor-length curtains remain the most popular choice for living rooms and bedrooms because they maximize the vertical emphasis we discussed earlier. I recommend mounting your rod 4–6 inches above the window frame to create a ceiling-height illusion that improves your space. When measuring, start at the rod level and account for rings or grommets before calculating fabric length. For the floor kiss, subtract 0.5 inches from your measurement to achieve precise floor-length curtains without pooling. Break-length offers an alternative, adding 1–2 inches of extra fabric for visual elongation. If you’re managing baseboard heaters or radiators, shorten your curtains slightly while maintaining floor contact. This tie-in with baseboards prevents heat interference while preserving the elongating effect your room deserves. Accurate rod height and proper measurement create the polished appearance you’re seeking.
Shorter Lengths for Kitchens and Bathrooms

Why do kitchens and bathrooms demand a different curtain strategy than living rooms and bedrooms? Moisture and humidity fundamentally change how fabric behaves in these spaces. I recommend hanging curtains 4–6 inches above your window sill or allowing them to just graze it. This curtain length prevents contact with steam, splashes, and water damage that warps fabric and promotes mold growth.
For kitchen privacy and light control, I suggest installing moisture-resistant options like faux wood blinds instead of traditional panels. They’re more practical in wet environments. If you prefer curtains, measure from your rod to the sill’s bottom and hem accordingly, keeping them above window sill level.
This approach maintains a neat appearance while protecting your investment from humidity-related deterioration. Shorter lengths address both functional and aesthetic needs at once.
How to Position Rod Height and Width for Maximum Light

I’ll position your rod 8–10 inches above the window frame, extending 3–4 inches beyond each side, so panels stack completely away from glass when curtains open fully. This setup creates the illusion of taller ceilings while allowing natural light to flow through your room unobstructed.
Rod Placement Above Frame
How you position your curtain rod sets the foundation for both light control and visual proportion in your room. I’ll guide you through the strategic placement for your space.
Mounting your rod above the window frame creates immediate visual benefits:
- Lift ceilings by positioning the rod 4–6 inches above the frame, or 8–10 inches for tall ceilings
- Extend horizontally 3–4 inches beyond the window on each side to maximize light penetration when curtains open
- Maintain balance by placing the rod halfway between the window frame’s top and your ceiling
This rod placement above frame directly impacts your curtain length and floor reach. Measuring from rod to floor accounts for hardware and your desired style—whether you want fabric floating, breaking, or pooling on the floor.
Extending Beyond Window Edges
Positioning your curtain rod beyond the window’s edges determines how effectively your curtains control light and frame your windows visually. I recommend extending the rod 3–4 inches past each side of the window. This extension allows curtains to open fully without blocking natural light when you need it most.
The rod width creates proper framing proportions. You’ll want your window trim positioned 10–12 inches from each rod end. This distance improves the overall appearance while maintaining functionality.
Wide rod placement prevents curtains from bunching against the window frame or floor. Double-wide panels work best for larger windows, providing adequate overlap on both sides. Proper extension also keeps panels clear of radiators and baseboards, preventing heat interference and allowing smooth operation throughout daily use.
Common Rod Placement Errors and How to Avoid Them
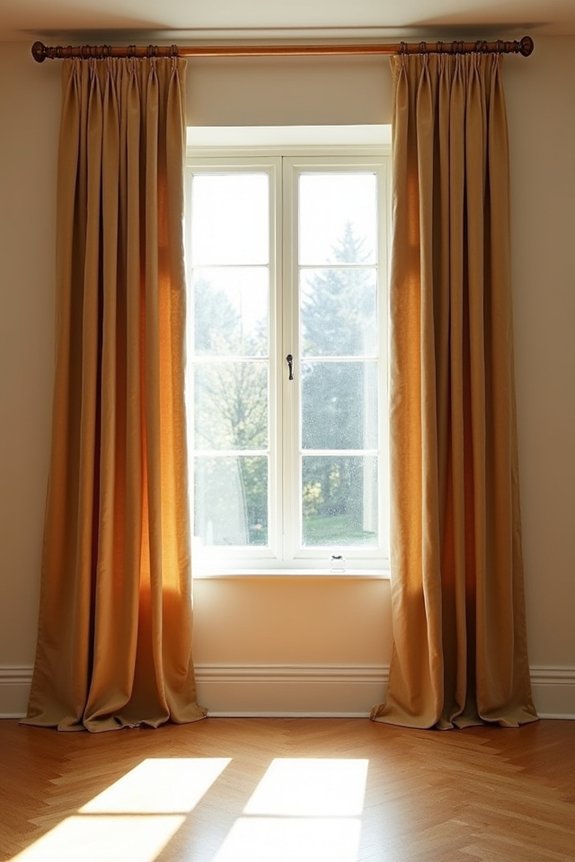
I’ve made plenty of rod placement mistakes myself, and they all share common roots: positioning the rod too low visually compresses your ceiling height, while insufficient rod width creates cramped curtain panels that won’t open fully. Mounting the rod too close to the wall restricts light flow and makes your window appear narrower than it actually is. Getting these three elements right—rod height at 4–6 inches above the frame, width extending 3–4 inches beyond each side, and proper wall clearance—improves how your entire room feels and functions.
Rod Height Visual Impact
Where you mount your curtain rod affects how spacious your room feels. Rod height creates measurable visual effects on ceiling perception and window prominence. Raising the rod 4–6 inches above the window frame expands perceived room openness. For tall ceilings, positioning it 8–10 inches above generates a stronger ceiling illusion and improves light flow when curtains open fully.
Consider these placement strategies:
- Mount the rod above window trim to emphasize vertical space and prevent visual pinching
- Extend brackets 3–4 inches beyond each side for unobstructed glass visibility
- Position lower rods reduce ceiling height perception noticeably
Incorrect placement directly on the window frame shortens apparent ceiling height and diminishes window size. Strategic rod height affects your space’s proportions and functionality through intentional positioning.
Width Mistakes Block Light
How much light actually reaches your windows once curtains hang? I’ve found that curtain rod width directly impacts your room’s brightness. A narrow rod forces panels to bunch, creating shadows across your window opening. I recommend extending the curtain rod 3–4 inches beyond the window frame on each side. This setup allows panels to clear the glass entirely when drawn. Double-wide panels work best for large windows, preventing light gaps between sections. Proper panel spacing prevents crowding that blocks natural light. I avoid undersized rods that don’t accommodate fabric volume without compression. Mis-sized installations cast shadows and reduce illumination significantly. Position your rod wide enough so panels don’t obstruct the window’s edges. This strategic placement allows light to flow freely around your window opening when curtains are open.
Length Proportions Affect Rooms
While rod height determines how well light enters your room, rod placement controls the visual proportions of your entire space. Mounting your rod 4–6 inches above the window frame maximizes perceived ceiling height and creates better floor-to-window ratio balance. The length proportions you establish directly affect your curtain’s final appearance and room perception.
Consider these placement strategies:
- Mount rods 8–10 inches above tall windows to accentuate vertical lines without obstructing trim
- Position rods near the ceiling line to visually lift your eye level and expand spatial perception
- Calculate drop distance carefully to achieve your desired curtain puddle or floor-kissing effect
Your rod height determines whether curtains float, kiss, or puddle at the floor. This distinction fundamentally shapes how proportional and deliberate your room appears. Strategic placement makes windows into design anchors.
Baseboard Heaters and HVAC Ducts: Adjusting Length Accordingly
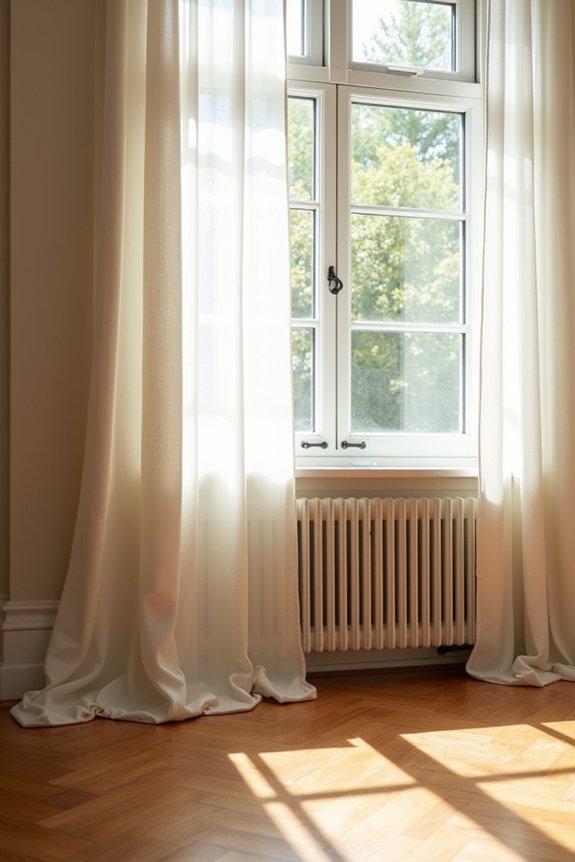
Baseboard heaters and floor-level HVAC ducts present a practical constraint that’ll shift your curtain-hanging strategy considerably. I recommend measuring your heater’s height and clearance zone before selecting curtain length. Your fabric shouldn’t rest on the heater, as this blocks heat distribution throughout the room.
| Heater Type | Recommended Length | Installation Method |
|---|---|---|
| Baseboard heater | Just past window sill | Single rod above heater zone |
| Floor duct | Floating 2-3 inches above | Double-rod setup for layering |
| Radiant heat source | Minimal contact preferred | Magnetic vent covers as shield |
Consider using a double-rod setup to hang sheer panels at full length while positioning heavier drapes higher. Diverters or magnetic covers protect your curtains from radiant heat exposure. This approach maintains visual appeal while preserving HVAC efficiency and heat circulation patterns.
Why 95-Inch Curtains Beat Standard 84-Inch Lengths
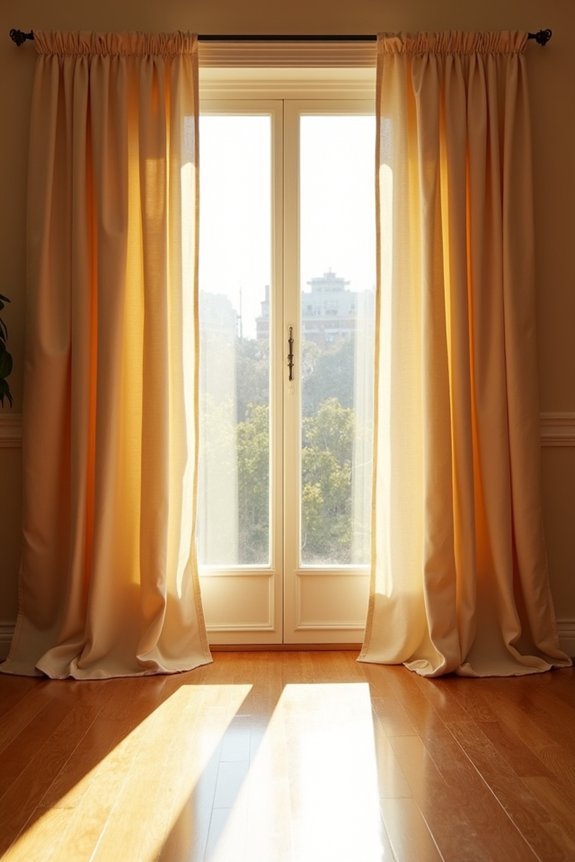
Why does stepping up to 95-inch curtains matter more than you’d initially think? I find that standard 84-inch panels often fall short for rooms with higher ceiling heights or varied rod placements. The extra length solves real design challenges you’ll encounter.
95-inch curtains deliver practical advantages:
- Flexibility across ceiling heights: You’ll accommodate 9-foot to 10-foot ceilings without custom orders, achieving true floor-length coverage
- Multiple styling options: Float, break, and puddle styles become accessible with surplus fabric for tailoring
- Enhanced light control: Higher rod placement with deeper panels improves privacy and blocks light more effectively
I’ve observed that disproportionately short curtain length damages room proportions on large windows. Upgrading your curtain length prevents that “dinky” appearance. For balanced floor-to-ceiling aesthetics matching your room scale, 95-inch curtains eliminate guesswork and frequent hemming needs.
Hemming and Adding Weight: Finishing for Better Hang
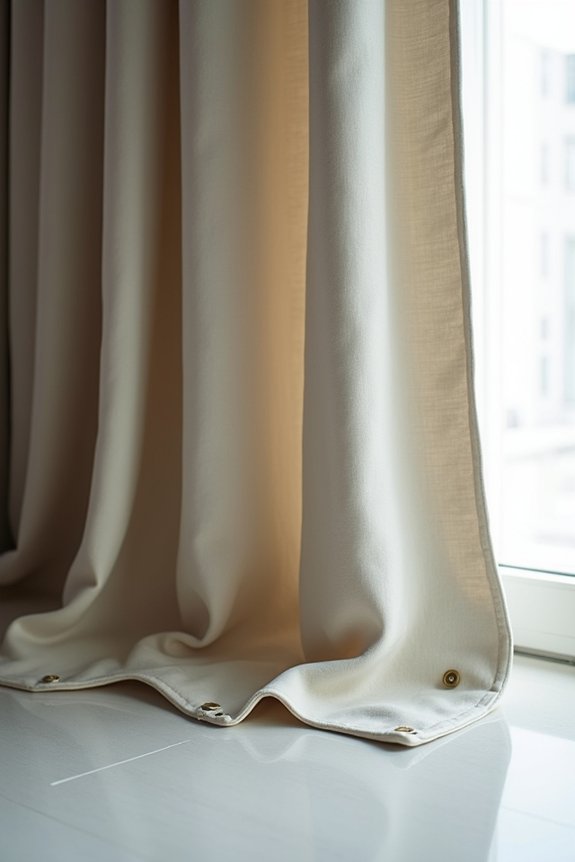
I’ve found that proper hemming combined with strategic weight placement improves how your curtains hang and drape. You’ll want to add weights—whether curtain weights or pennies—directly into the bottom seam, which prevents sagging and creates that polished, floor-grazing look. Measuring accurately from rod to floor, then adjusting for your preferred length (float, break, or puddle), helps your finishing work deliver both elegance and functional fabric control.
Adding Weight For Drape
Once you’ve chosen your curtain length—whether it’s a float, break, or puddle—hemming and weighting work together to finalize your panels’ appearance. I add curtain weights inside the bottom seam to improve drape and maintain consistent floor length over time. This technique prevents fabric from bunching or riding up when you move the panels.
What to consider when adding weight:
- Place weights or coins evenly across each panel’s bottom seam for balanced pull
- Select weight options like specialized curtain weights or pennies for affordability
- Account for fabric type, especially natural materials like linen or wool that relax
The weight encourages downward pull, creating smooth, even hang. For best results, I distribute weights consistently across all panels, so your curtains maintain their intended floor length and professional appearance.
Hemming Techniques And Methods
How you finish your curtain hem directly determines whether your panels hang evenly or develop unwanted ripples and movement. I recommend choosing your hemming method based on fabric weight: lightweight materials work well with blind hems, while heavier fabrics benefit from straight stitches that anchor the hem securely.
Before hemming, I measure from rod to floor and account for your desired length category—float, break, or puddle. I trim excess fabric accordingly, then add extra seam allowance for future shrinkage or weight shifts on longer lengths.
I incorporate curtain weights or pennies into the bottom seam during hemming. This weight counteracts air movement and maintains a straight hang against the floor. The result is professional drape without rippling, delivering the performance your curtains are designed to provide.
Finishing Touches For Elegance
The hem’s construction directly controls whether your curtains hang uniformly or develop ripples along the bottom edge. I’ve found that adding weights changes how fabric behaves at floor level. Distributing weights evenly along the hem prevents sagging and pinching in the middle of panels. You’ll notice improved drape and reduced wave when weights sit properly in the seam.
For the best results, consider these finishing techniques:
- Sew weights or pennies into the bottom seam for enhanced fabric movement and cleaner silhouette
- Use hidden stitching or iron-on hems to keep edges stable, especially with lightweight fabrics
- Plan hems so curtains reach approximately 0.5 inches above the floor for a polished appearance
These methods help your curtains maintain professional hang and resist curling in drafts. Proper hemming creates the foundation for elegant window treatments.
The Kiss: Why Floor-Touching Curtains Work Best

Why do designers consistently advocate for curtains that kiss the floor rather than hover above it? This floor-length approach defines polished interiors. Achieving the Kiss requires precise curtain length measurement and hemming precision. You’ll measure from the rod—accounting for rings or hardware—down to the floor, then subtract approximately 0.5 inches. This rod height positioning, combined with accurate hemming, creates that exact touch without pooling excess fabric or exposing gaps. The result is a streamlined silhouette that visually elongates your walls. This technique works across modern and traditional aesthetics. When paired with high, wide rod placement, the Kiss maximizes light exposure while maintaining a clean appearance. Designers who execute floor-length curtains with meticulous attention to detail establish sophisticated style and visual impact in any room.
Puddle Curtains: When Drama Beats Practicality

If you’re drawn to drama over practicality, puddle curtains deliver a luxurious aesthetic by extending 3 to 6 inches beyond floor level. This floor-length design creates pooling fabric that adds visual interest to formal spaces. However, puddling demands specific considerations before installation.
Puddle curtains sacrifice practicality for drama, extending 3 to 6 inches beyond floor for luxurious formal spaces.
You’ll need to evaluate your space carefully:
- High-quality fabrics prevent excessive wrinkling and maintain the pooling effect consistently
- Careful hemming ensures even draping without snagging on furniture or radiators
- Minimal foot traffic and pet-free areas reduce wear on pooled sections
Measuring requires precision: calculate from rod to floor, then add your desired inches for pooling. This length comes with tradeoffs—increased cleaning maintenance and potential uneven pooling on irregular floors. This style works best in formal dining rooms or bedrooms where traffic remains controlled and the aesthetic impact justifies the practical drawbacks.
Balancing Style and Function: Making Your Final Length Choice
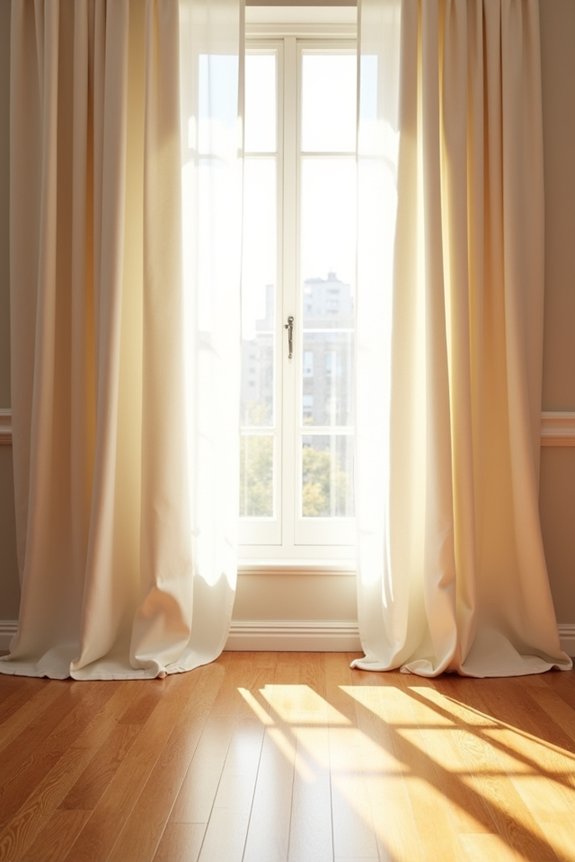
So you’ve explored puddle curtains’ drama and float-length’s minimalism—now comes the practical decision. Your final length choice depends on balancing style with everyday functionality. Consider your room’s purpose, traffic patterns, and maintenance capacity. Break-length offers the recommended universal solution for most spaces. It provides adequate light control, prevents floor contact, and maintains visual sophistication.
| Length Type | Floor Interaction | Best Use |
|---|---|---|
| Float | ½–1″ clearance | High-traffic areas |
| Break | 1–2″ excess | Most rooms |
| Puddle | 3–6″ excess | Formal spaces |
Accurate measurement matters significantly. Start at your rod, account for hardware, subtract ½ inch clearance. This approach achieves your chosen length with the desired floor interaction. Select based on your lifestyle, not trend cycles, creating a choice you’ll maintain confidently long-term.
Match Curtain Length to Room Type and Ceiling Height

Match your curtain length strategy to both your room’s function and ceiling dimensions, accounting for proper proportions. High ceilings above 9–10 feet require you to mount rods 8–10 inches above the window frame and 3–4 inches beyond each side, anchoring the visual height while maintaining proper floor-length proportions. Your room type—whether high-traffic living spaces benefiting from float-length or formal bedrooms accommodating break-length or puddle-length—determines which gap measurement, from 0.5 inches to 6 inches, will balance aesthetics with practical wear.
Room-Specific Length Guidelines
Where should your curtains end depends largely on your room’s function and architectural features. This guide covers selecting appropriate curtain lengths for different spaces in your home.
Different rooms require distinct approaches to curtain length:
- Living rooms benefit from 96–108 inch curtain lengths that suit standard window heights and create visual balance, especially when you hang rods 8–10 inches above the window frame to adjust proportions
- Bedrooms typically use floor-length curtains positioned approximately 1 cm above the floor, providing privacy and a polished appearance
- Kitchens and bathrooms require shorter lengths that prevent moisture exposure and eliminate safety hazards near water sources
Large windows in living or dining areas demand flexibility. You might select lengths ranging from 63–120 inches based on your specific window size and ceiling height. This variation allows your curtains to complement your room’s proportions while maintaining functional performance.
Ceiling Height Considerations
How much your ceiling height influences curtain placement depends on achieving visual proportion between your window, wall, and room dimensions. Standard 8–9 ft ceilings require positioning your curtain rod 4–6 inches above the window trim. This height maintains appropriate wall proportions without visual imbalance. For 10 ft ceilings, place your rod 8–12 inches above the window frame to maintain balance and prevent crowding upper areas. Higher ceilings benefit from floor-length curtains that enhance grandeur and create visual continuity. Lower-ceiling spaces work better with float-length options for a clean, modern aesthetic. Your curtain rod height directly impacts how room proportions read, making ceiling height the foundational consideration for determining appropriate floor-length curtains placement.